101, ST Centre, Malad East, Mumbai, Maharashtra, 400097.

Skin Barrier Damage: Signs, Causes & How to Repair It

Your skin barrier is the outermost layer of the skin — a tightly packed structure of cells and lipids that acts as the body’s first line of defence. It keeps moisture in and keeps irritants, bacteria, and pollutants out. When it is functioning well, skin looks calm, hydrated, and resilient. When it is damaged, almost everything goes wrong at once.

Skin barrier damage is one of the most under-recognised causes of persistent skin problems — and also one of the most commonly worsened by the very products people use to fix them. Understanding what has gone wrong, and how to correct it, is the foundation of any effective skin recovery plan.

What Does the Skin Barrier Actually Do?

The skin barrier — technically called the stratum corneum — is made up of dead skin cells (corneocytes) held together by a matrix of lipids including ceramides, fatty acids, and cholesterol. Think of it as a brick wall: the cells are the bricks, and the lipids are the mortar holding everything together.

This structure serves two simultaneous functions: it prevents transepidermal water loss (TEWL), keeping skin hydrated from within, and it blocks external aggressors — UV radiation, pollution, pathogens, and chemical irritants — from penetrating deeper layers. When the lipid matrix is disrupted, both functions fail. Water escapes and irritants enter, triggering a cycle of dryness, sensitivity, and inflammation that is difficult to break without the right approach.

Signs of a Damaged Skin Barrier

The signs of skin barrier damage are often mistaken for separate skin concerns rather than symptoms of a single underlying problem. The most common indicators include:

Persistent dryness and tightness — skin feels uncomfortable even after moisturising, and dehydration returns within hours of application. This is a direct result of increased TEWL.

Increased sensitivity and stinging — products that were previously tolerated begin to sting, burn, or cause redness. Even water can feel irritating on severely compromised skin.

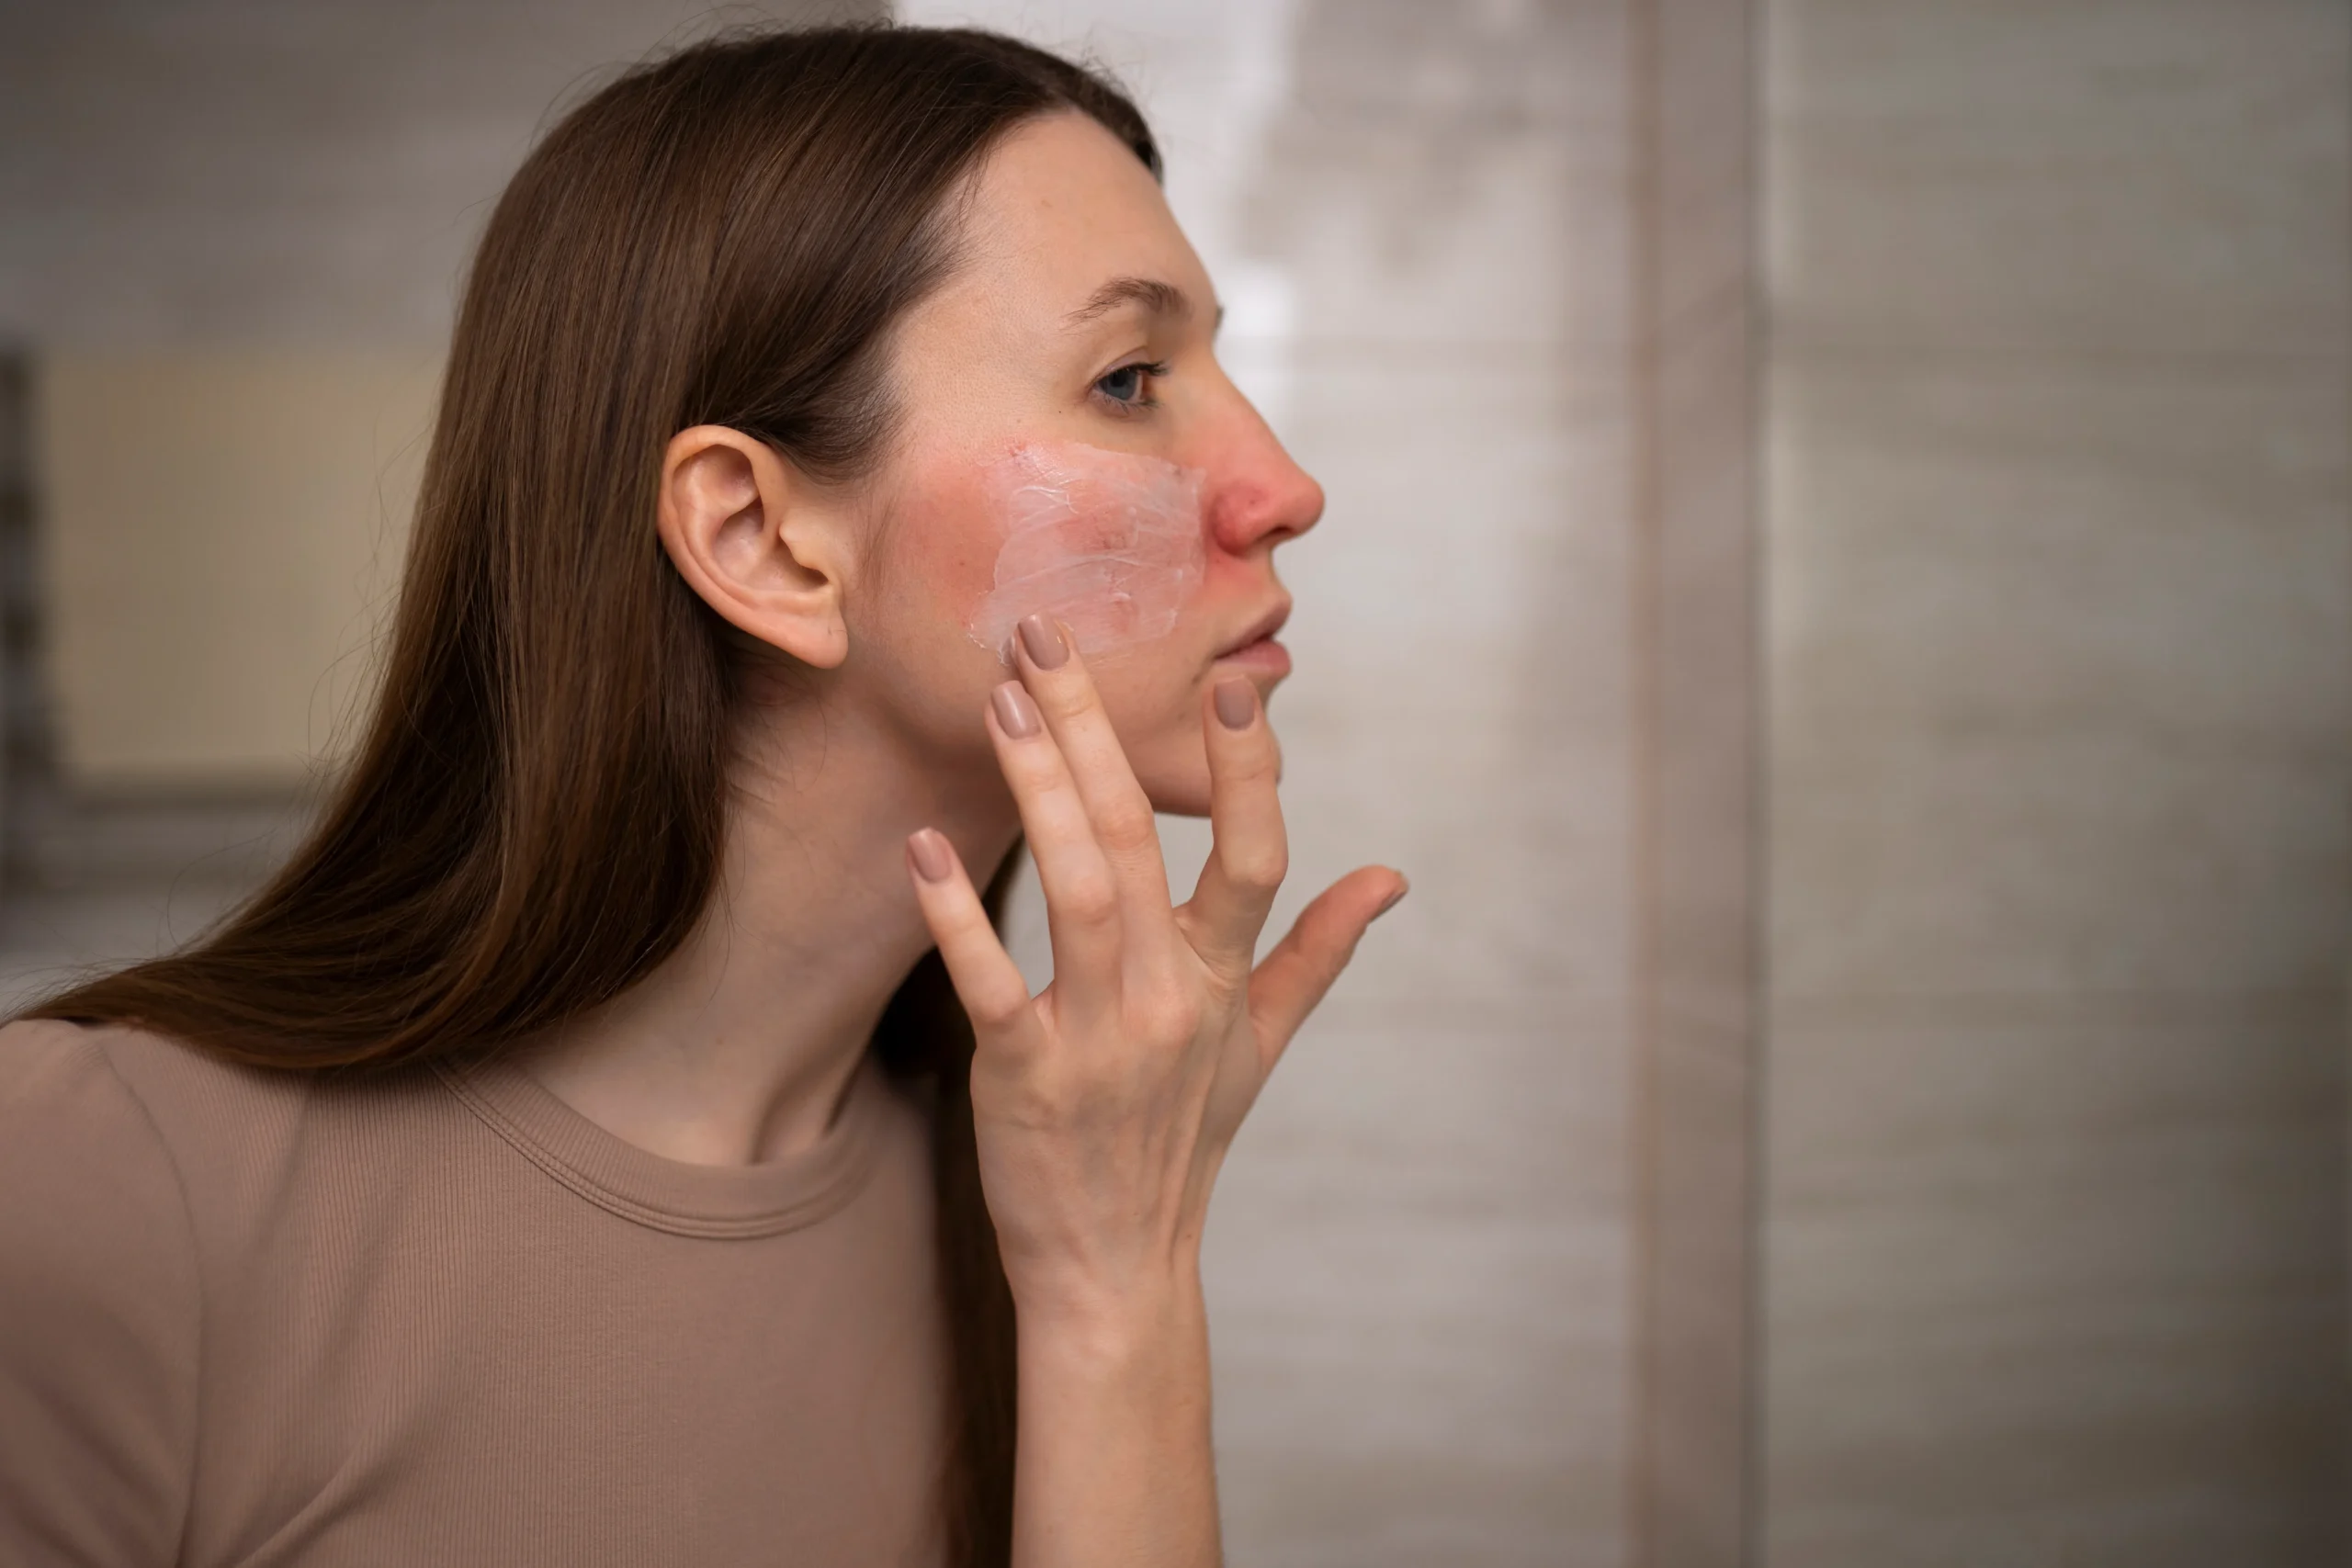
Redness and uneven tone — low-grade inflammation from barrier disruption causes a flushed, blotchy appearance that is not linked to any specific trigger.

Breakouts in unusual areas — when the barrier is compromised, bacteria and environmental debris penetrate more easily, causing congestion and acne in skin types that do not normally break out.

Rough or flaky texture — skin that previously felt smooth develops a rough, uneven surface as the shedding process is disrupted and dead cells accumulate irregularly.

If multiple of these signs are present simultaneously, a damaged skin barrier is the most likely common cause — not five separate problems requiring five separate solutions.

What Causes Skin Barrier Damage?

Skin barrier damage rarely has a single cause. In most cases it is a combination of internal and external factors that compound over time.

Over-Exfoliation

This is the most frequent cause seen in dermatology clinics. The widespread use of AHAs, BHAs, retinoids, and physical scrubs — often layered together without adequate recovery time — physically strips the lipid matrix. The skin feels smooth immediately after but becomes progressively more sensitised with repeated use.

Harsh or Incompatible Skincare

High-fragrance products, alcohol-based toners, sulfate-heavy cleansers, and high-concentration actives used without acclimatisation all disrupt the skin barrier. Mixing too many active ingredients — a pattern fuelled by ingredient-trend content online — is a leading cause of barrier damage in otherwise healthy skin.

Environmental Factors

Mumbai’s climate — high humidity combined with significant pollution load and UV exposure — places chronic stress on the skin barrier. Air-conditioning, which strips ambient moisture, compounds this further. Skin in this environment loses water more rapidly and has less opportunity to recover between exposures.

Hot Water and Over-Cleansing

Hot water dissolves the skin’s natural lipid layer. Cleansing more than twice daily, or using hot water consistently, progressively depletes the barrier — particularly for those with naturally dry or combination skin.

Underlying Skin Conditions

Eczema, psoriasis, and rosacea all involve inherent barrier dysfunction as part of their pathology. In these cases, barrier repair is an ongoing management requirement rather than a one-time fix.

How to Repair a Damaged Skin Barrier

Barrier repair requires two things working together: reducing the inputs causing damage and actively replenishing the lipid components the barrier has lost. Neither alone is sufficient.

Simplify the Routine

The single most effective first step is stripping the skincare routine back to essentials: a gentle, low-pH cleanser, a barrier-supportive moisturiser, and broad-spectrum SPF. All actives — retinoids, exfoliating acids, Vitamin C at high concentrations — should be paused until the barrier has stabilised. This typically takes 2 to 4 weeks of consistent minimal-product use.

Replenish Ceramides and Humectants

Look for moisturisers that contain ceramides, niacinamide, hyaluronic acid, and fatty acids. These ingredients directly replace what the barrier has lost. Applying a moisturiser to slightly damp skin increases absorption and reduces water loss more effectively than applying to dry skin.

SPF Is Non-Negotiable

UV radiation is one of the fastest ways to degrade ceramides and accelerate TEWL. A broad-spectrum SPF 30 or above applied every morning is a non-negotiable part of any barrier repair protocol — regardless of whether the day involves sun exposure.

Professional Treatment for Accelerated Recovery

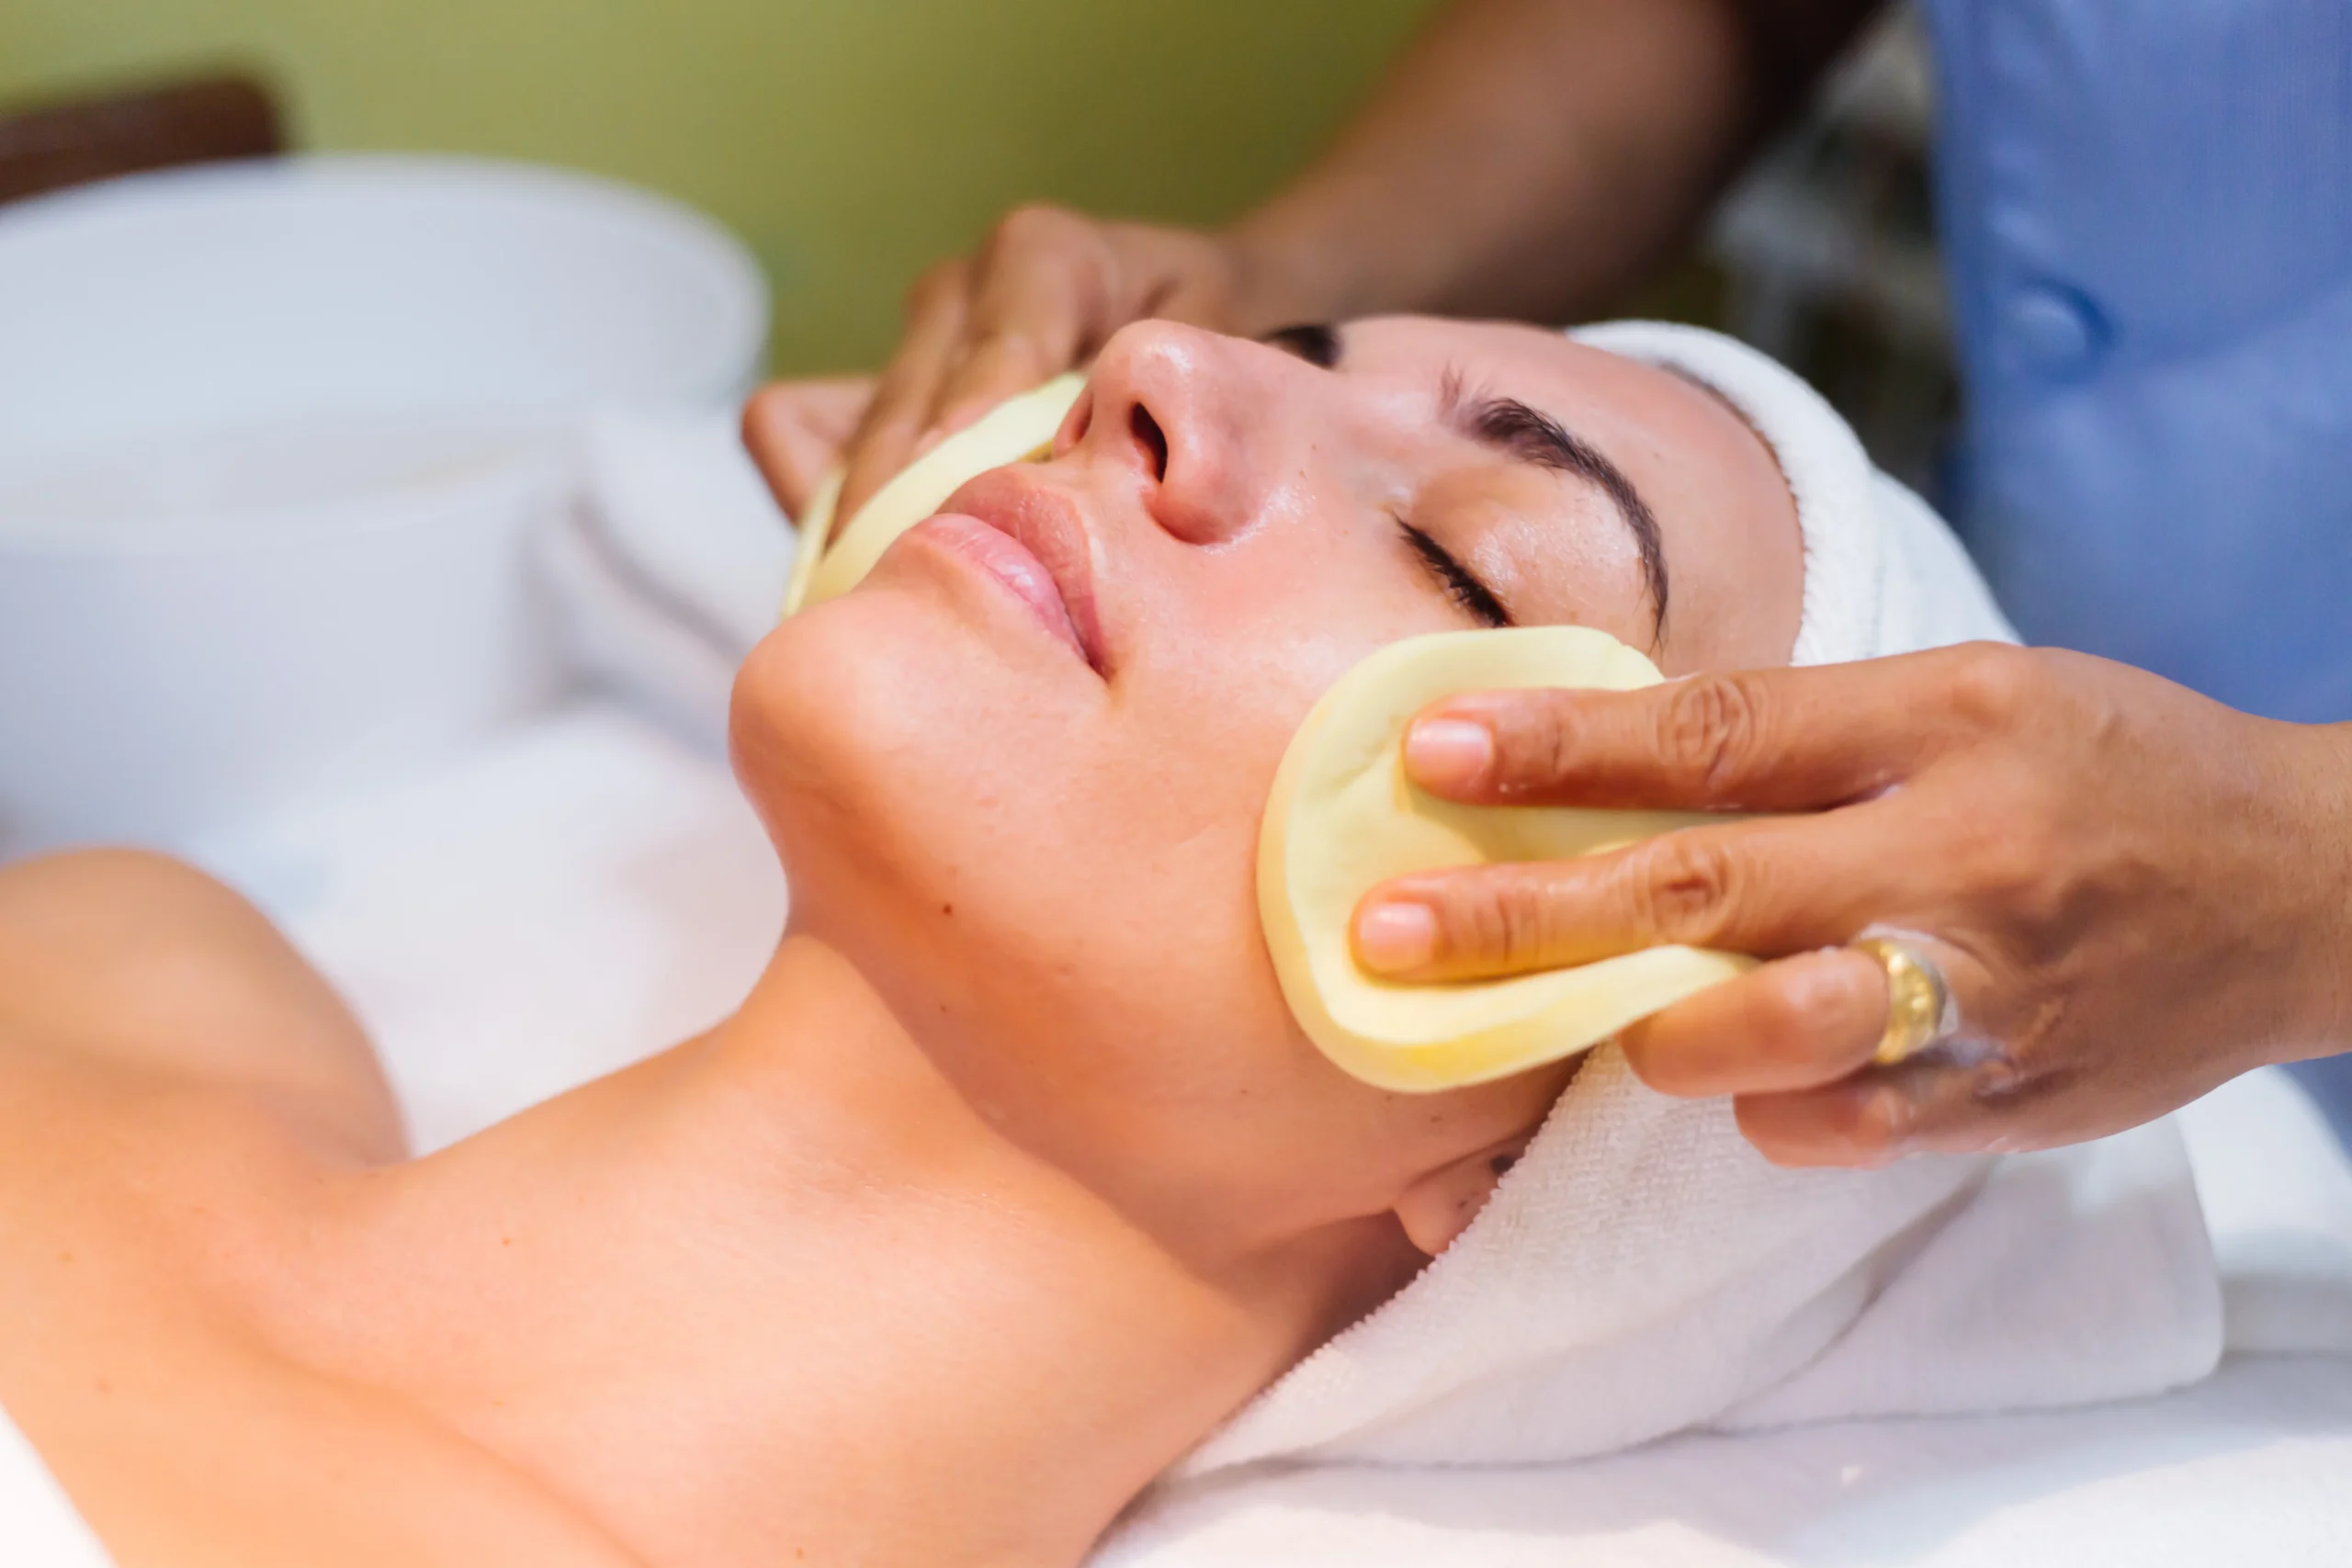
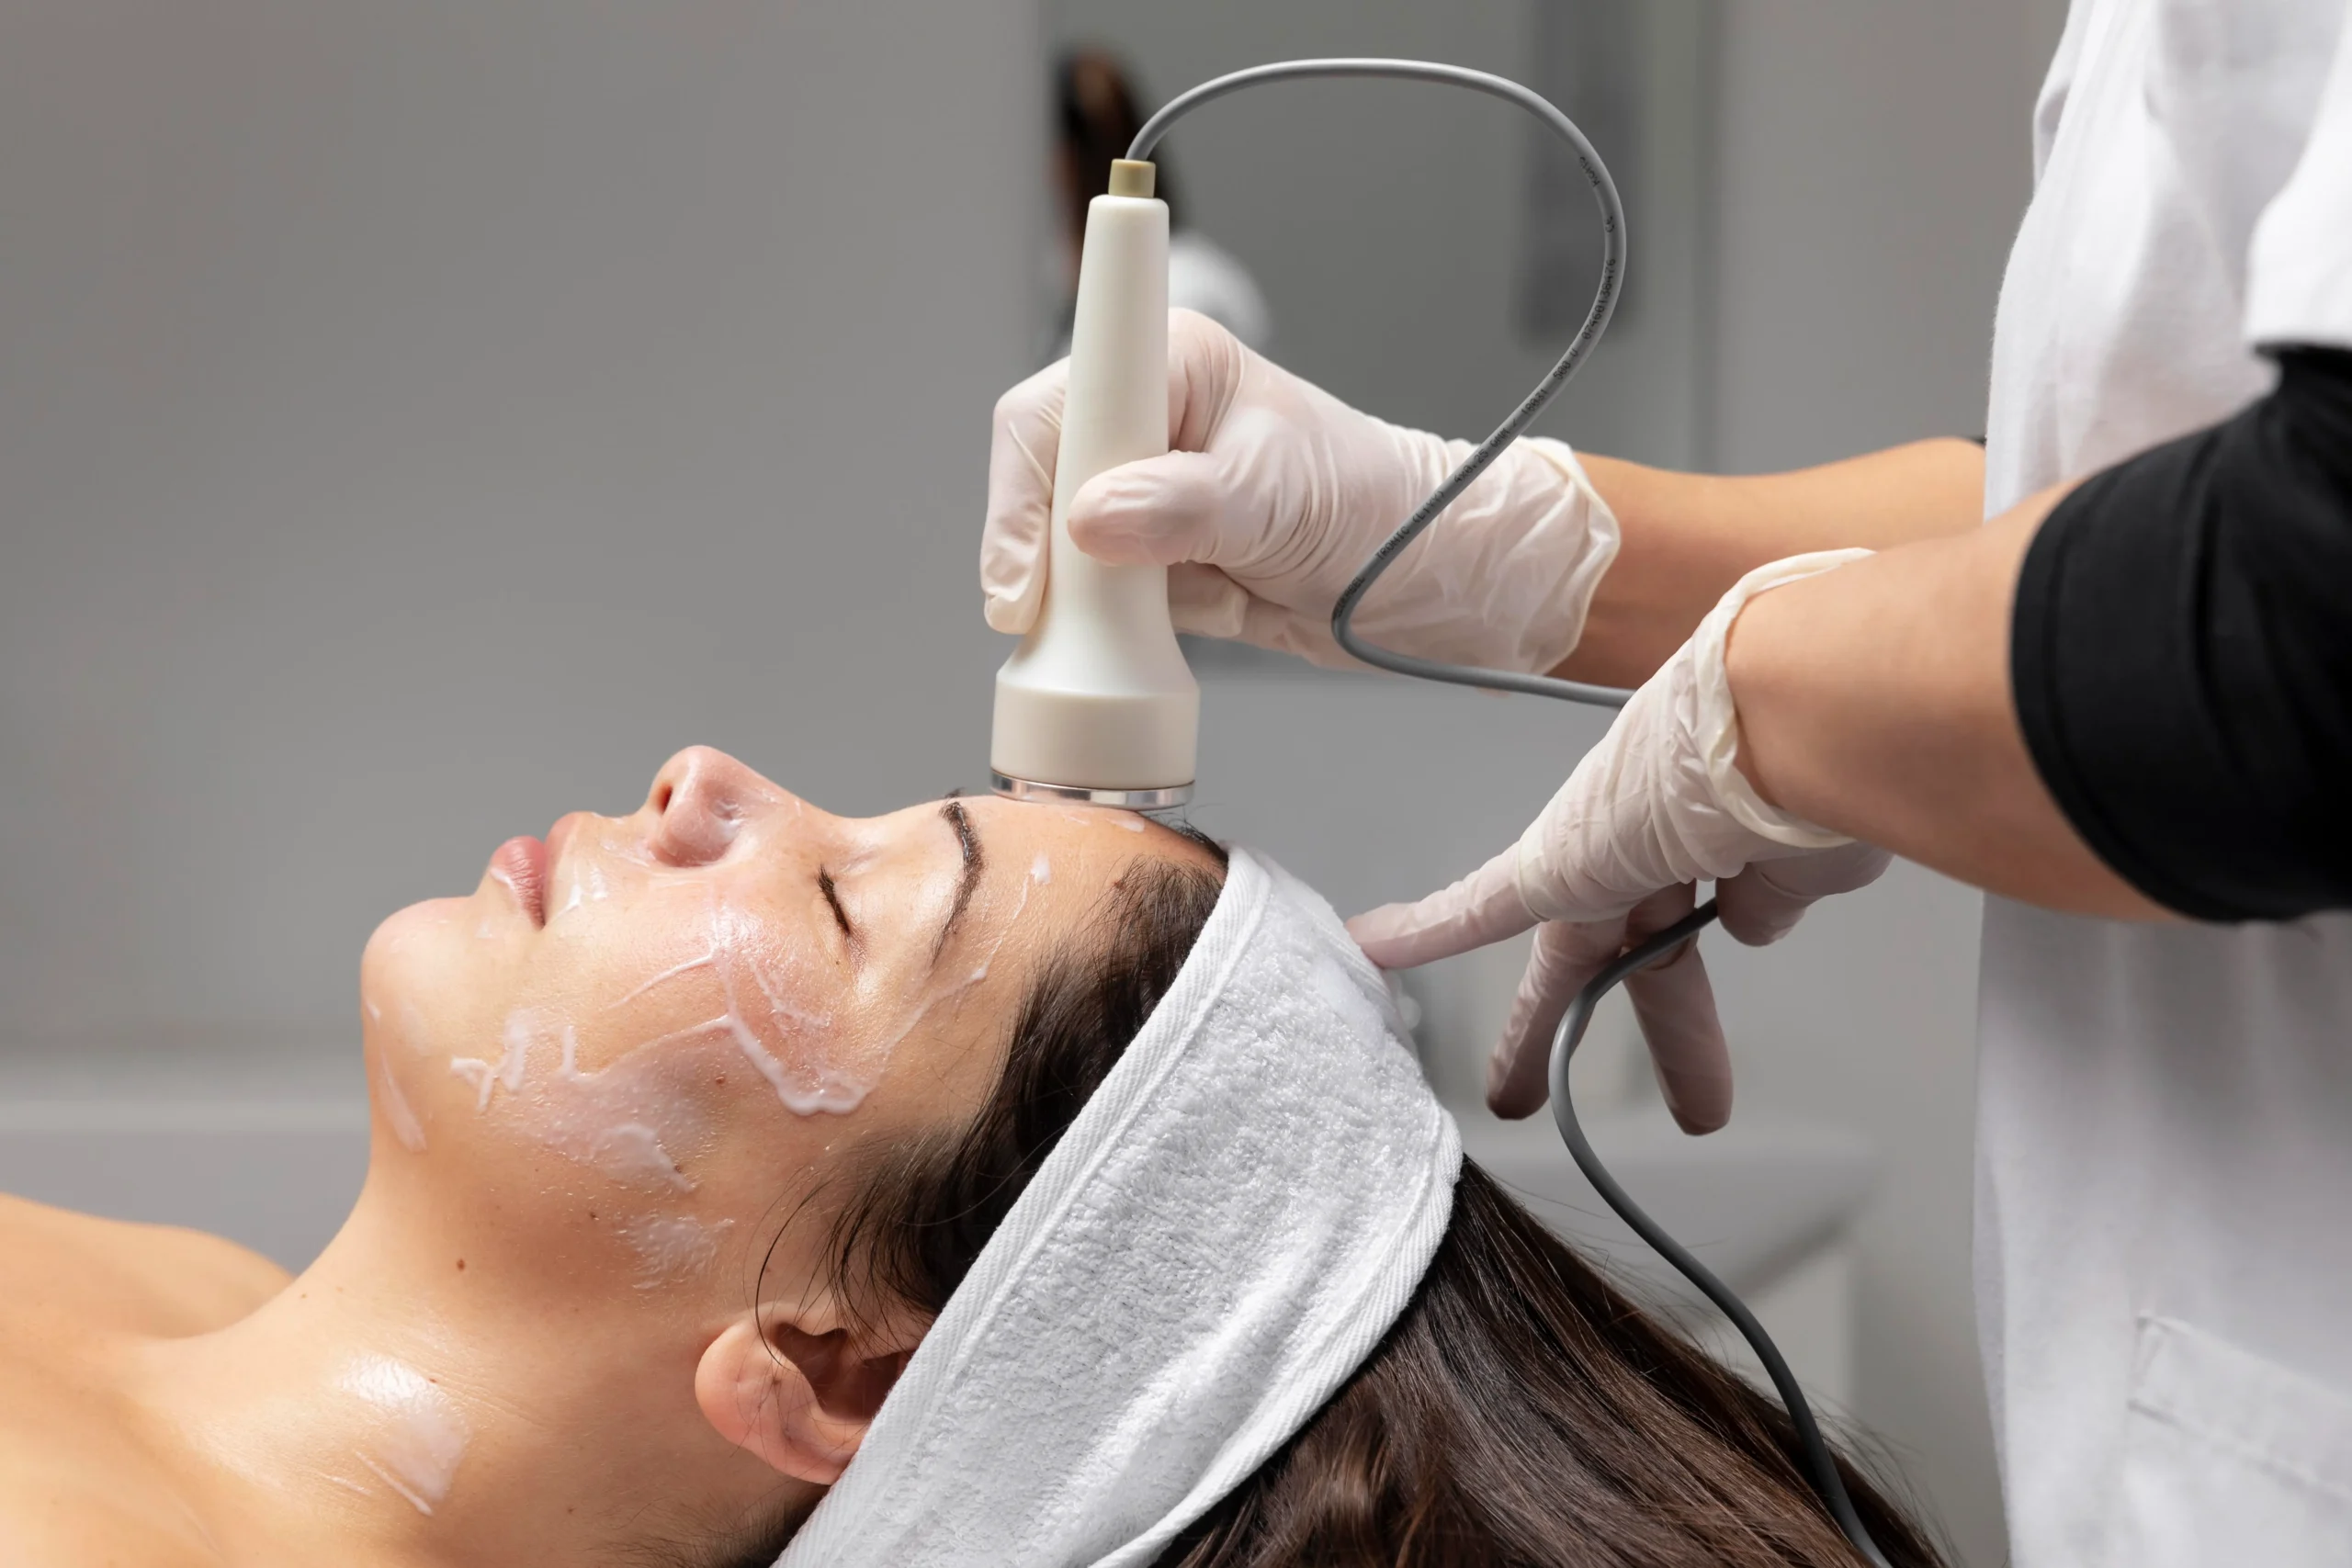
When the barrier is significantly compromised, professional treatment can meaningfully accelerate recovery. HydraFacial in Malad — which simultaneously cleanses and infuses hyaluronic acid and peptides — is one of the most appropriate clinical options for barrier-compromised skin because it delivers hydration directly without mechanical irritation.

For skin where barrier damage has been compounded by post-inflammatory marks or pigmentation, chemical peels in Malad using low-concentration lactic acid can gently resurface without further compromising the barrier — but only once the barrier has partially stabilised and only under dermatologist supervision.

If acne has developed as a secondary consequence of barrier disruption, acne treatment in Malad tailored to sensitive and barrier-compromised skin requires a different protocol than standard acne management — one that addresses the root cause rather than just the breakouts.

When to See a Dermatologist

If skin remains persistently reactive, red, or uncomfortable after 3 to 4 weeks of a simplified routine, the issue may extend beyond a straightforward barrier disruption. Underlying conditions such as eczema, perioral dermatitis, or contact dermatitis present similarly and require clinical assessment to differentiate. At My Happy Skin, Dr. Prachi Saraogi provides tailored skin assessments for sensitive skin treatment in Malad, identifying whether the concern is purely barrier-related or involves a deeper dermatological condition that needs targeted management.

To book a consultation, visit myhappyskin.in/contact-us.

Frequently Asked Questions

Q1. How long does it take to repair a damaged skin barrier?

With a simplified routine and barrier-supportive products, most people see meaningful improvement within 2 to 4 weeks. Severely compromised skin or cases with an underlying condition may take longer.

Q2. Can over-exfoliating permanently damage the skin barrier?

Chronic over-exfoliation causes cumulative damage, but the skin barrier has significant regenerative capacity. Stopping the aggravating products and supporting recovery with the right ingredients typically restores function over time.

Q3. Is a damaged skin barrier the same as sensitive skin?

Not always. Sensitivity is a skin type; a damaged barrier is a condition that can develop in any skin type. However, a damaged barrier makes skin behave sensitively, which is why the two are frequently confused.

Q4. Can I use niacinamide on a damaged skin barrier?

Yes. Niacinamide is one of the most barrier-compatible active ingredients — it supports ceramide production, reduces inflammation, and is well-tolerated even by compromised skin.

Q5. Should I stop all actives if my skin barrier is damaged?

Yes, temporarily. Retinoids, exfoliating acids, and high-concentration Vitamin C should be paused until the barrier has stabilised. Reintroduce one at a time with at least two weeks between each addition.

Q6. Does a HydraFacial help repair the skin barrier?

A HydraFacial can support barrier recovery by infusing hydrating actives like hyaluronic acid and peptides without abrasion or mechanical stress. It is one of the more appropriate clinical options for sensitive or barrier-compromised skin.

Citations

  1. Skin barrier function — structure and clinical relevance — DermNet NZ
  2. Transepidermal water loss and barrier disruption — Journal of Investigative Dermatology
  3. Ceramides and barrier repair — clinical overview — American Academy of Dermatology
  4. Over-exfoliation and skin barrier damage — Healthline
  5. Skin barrier repair — ingredient evidence review — National Library of Medicine
Retinol for Beginners: Benefits, Side Effects & Usage Guide

Few skincare ingredients have the research backing, clinical track record, and dermatologist consensus that retinol does. It is recommended for acne, pigmentation, fine lines, uneven texture, and enlarged pores — sometimes all at once. Yet it also has one of the highest rates of self-discontinuation, because people start incorrectly, experience irritation, and conclude it does not work for them.

If you are new to retinol, this guide covers exactly what it does, what side effects are normal versus concerning, and how to introduce it without disrupting your skin — with particular attention to how Indian skin types respond to it.

What Is Retinol and How Does It Work?

Retinol is a form of Vitamin A and belongs to a family of compounds called retinoids. When applied topically, it is converted by skin enzymes into retinoic acid — the active form that communicates directly with skin cell receptors to alter how cells behave.

At the cellular level, retinol accelerates skin cell turnover, which means old, pigmented, or damaged cells at the surface are shed faster and replaced with newer ones. It also stimulates fibroblasts to produce more collagen and elastin, thickening the deeper layers of the skin. Simultaneously, it reduces the activity of melanocytes — the cells responsible for pigment production — which makes it effective for both pigmentation and post-acne marks.

This multi-pathway action is why retinol is the only over-the-counter ingredient with robust clinical evidence for anti-aging, pigmentation correction, and acne management simultaneously.

Benefits of Retinol for Skin

Acne and Post-Acne Marks

Retinol regulates sebum production and prevents dead skin cells from clogging pores — addressing two of the primary drivers of acne. For post-acne hyperpigmentation, which is particularly common in Indian skin due to higher baseline melanin levels, accelerated cell turnover gradually brings pigmented cells to the surface and sheds them. This makes retinol especially relevant for skin of colour, where post-inflammatory marks tend to persist longer than in lighter skin tones.

Fine Lines and Skin Texture

By stimulating collagen synthesis and accelerating surface renewal, retinol progressively smooths fine lines, reduces pore visibility, and improves overall skin texture. These effects develop slowly — typically over 3 to 6 months of consistent use — but they are among the most clinically validated improvements possible with a topical ingredient.

Uneven Skin Tone and Dullness

The combination of melanocyte regulation and faster surface renewal makes retinol one of the most effective topical options for uneven skin tone and dullness — concerns that affect a significant proportion of people in Mumbai given UV exposure and pollution levels year-round.

Retinol Side Effects: What Is Normal and What Is Not

Side effects are the primary reason people abandon retinol prematurely, and most of them are the result of starting at too high a concentration or using it too frequently in the beginning.

Normal Side Effects

Dryness, mild flaking, and tightness during the first 2 to 4 weeks are a normal part of retinol acclimatisation. The skin’s rate of cell shedding has increased but its barrier has not yet adapted — this temporary adjustment period is sometimes called retinisation. Mild redness after application and some increased sensitivity to SPF or wind are also common and transient.

Purging vs Reaction

Retinol purging — a temporary increase in breakouts during the first 4 to 6 weeks — is normal and occurs because accelerated cell turnover brings microcomedones (congestion already forming beneath the surface) to the surface faster. Purging typically resolves on its own and is concentrated in areas where you already break out.

A reaction is different: persistent burning, widespread redness, swelling, or breakouts appearing in areas where you have never had them before suggest the retinol is too strong, is being applied too frequently, or is conflicting with another active in your routine. This is when use should be stopped and the skin barrier allowed to recover before trying again at a lower concentration.

Retinol and Indian Skin

Retinol for Indian skin requires an extra note on post-inflammatory hyperpigmentation. If the initial irritation phase causes inflammation — particularly in darker skin tones — that inflammation can itself trigger pigmentation, partially defeating the purpose of using retinol. Starting at a very low concentration (0.025% to 0.05%) and progressing gradually is essential for minimising this risk.

How to Use Retinol: A Step-by-Step Beginner’s Guide

Step 1 — Start Low and Slow

Begin with the lowest available concentration — 0.025% to 0.05% — applied every third night for the first two weeks. If tolerated without significant irritation, increase to every other night for the next two weeks, then nightly if tolerated. Do not rush this progression. Most people who experience problems with retinol have increased frequency or concentration too quickly.

Step 2 — Apply on Dry Skin

Apply retinol to completely dry skin — waiting at least 20 minutes after cleansing. Wet skin accelerates penetration significantly, which increases the risk of irritation for beginners. A pea-sized amount is sufficient for the entire face. More product does not mean faster results.

Step 3 — Moisturise Immediately After

Applying a barrier-supportive moisturiser containing ceramides or niacinamide immediately after retinol — sometimes called the sandwich method — buffers absorption and significantly reduces dryness and irritation without meaningfully reducing efficacy. This is a practical, well-supported approach for beginners and those with Indian skin types prone to sensitivity.

Step 4 — SPF Every Morning Without Exception

Retinol increases photosensitivity. Using retinol without daily SPF 30 or above not only reduces the ingredient’s effectiveness but actively increases the risk of UV-induced pigmentation — the opposite of what most retinol users are trying to achieve. SPF is not optional when using retinol.

Step 5 — Do Not Layer with Other Actives

Retinol should not be used on the same night as exfoliating acids (AHAs, BHAs) or high-concentration Vitamin C. These combinations significantly increase irritation risk and are one of the most common causes of barrier damage in otherwise healthy skin. If you use these ingredients, alternate nights.

When Retinol Alone Is Not Enough

Retinol is a strong maintenance ingredient but it works within the limits of what a cosmetic-grade product can achieve. For established acne scarring, deep pigmentation, or structural skin concerns, professional treatment delivers results at a depth and speed that topical retinol cannot match. Acne scar removal in Malad — using laser resurfacing or microneedling — addresses textural scarring that retinol can improve but not fully resolve.

For pigmentation that persists despite consistent retinol use, chemical peels in Malad or Q-Switch Laser in Malad can target melanin clusters at a depth beyond the reach of any topical ingredient. And for those whose skin has been sensitised by retinol overuse, HydraFacial in Malad can help restore barrier hydration before reintroducing the ingredient at a more appropriate pace.

At My Happy Skin, Dr. Prachi Saraogi provides personalised guidance on incorporating retinol correctly for your skin type and concern — including whether prescription-strength tretinoin (a more potent retinoid) may be appropriate — as part of a structured anti-aging treatment plan in Malad. Book a consultation at myhappyskin.in/contact-us.

Frequently Asked Questions

Q1. What percentage of retinol should a beginner start with?

Start with 0.025% to 0.05% — the lowest available concentration. Increase gradually over weeks only once the skin has adapted without significant irritation.

Q2. Can retinol be used on Indian skin?

Yes, but starting at a lower concentration and progressing slowly is essential for Indian skin, which is more prone to post-inflammatory hyperpigmentation if irritation occurs during the initial adjustment phase.

Q3. How long does retinol take to show results?

Reduced breakouts may be visible within 6 to 8 weeks. Improvements in texture, fine lines, and pigmentation typically develop over 3 to 6 months of consistent, correctly paced use.

Q4. Is purging from retinol normal?

Yes. A temporary increase in breakouts in the first 4 to 6 weeks is normal purging — it means congestion already present beneath the surface is being cleared faster. It resolves on its own.

Q5. Can I use retinol with niacinamide?

Yes. Niacinamide is one of the most compatible ingredients to pair with retinol — it supports the skin barrier, reduces inflammation, and helps manage the adjustment period without interfering with retinol’s efficacy.

Q6. Should I see a dermatologist before starting retinol?

It is advisable, particularly if you have active acne, melasma, or a compromised skin barrier. A dermatologist can recommend the correct concentration, flag ingredient conflicts, and determine whether prescription tretinoin would deliver better outcomes.

Citations

  1. Retinoids in dermatology — clinical evidence and use — American Academy of Dermatology
  2. Retinol mechanism and skin cell turnover — DermNet NZ
  3. Retinol side effects and how to minimise them — Healthline
  4. Retinol for skin of colour and hyperpigmentation — Journal of Clinical and Aesthetic Dermatology
  5. Retinol purging vs reaction — Verywell Health

Niacinamide vs Vitamin C: Which Serum Is Better for Your Skin?

Walk into any pharmacy or scroll through any skincare page and these two ingredients appear at the top of almost every recommendation: niacinamide and Vitamin C. Both are backed by solid research, widely available, and frequently marketed for the same concerns — brightening, pigmentation, and uneven skin tone. But they work very differently, suit different skin types, and are not always interchangeable.

If you have been unsure which one to choose — or whether you can use both — this breakdown will give you a clear, clinically grounded answer.

What Is Niacinamide?

Niacinamide is a form of Vitamin B3, a water-soluble ingredient that works across multiple pathways in the skin. It reduces the transfer of melanin (the pigment responsible for dark spots) to skin cells, which makes it effective for addressing post-acne marks, melasma, and general uneven tone. It also strengthens the skin barrier by increasing ceramide production, regulates sebum output in oily skin, and has a mild anti-inflammatory effect that makes it suitable even for sensitive skin types.

For Indian skin — which is typically more prone to post-inflammatory hyperpigmentation due to higher baseline melanin levels — niacinamide for Indian skin is particularly well-suited. It is stable, non-irritating, and can be used morning and night without sun sensitivity concerns.

What Is Vitamin C?

Vitamin C (most commonly L-ascorbic acid in serums) is a potent antioxidant that works primarily by inhibiting tyrosinase — the enzyme that triggers melanin production. It directly neutralizes free radicals from UV exposure, brightens existing dark spots, and stimulates collagen synthesis, which makes it useful for both pigmentation and early signs of aging.

The trade-off is stability and tolerance. L-ascorbic acid is notoriously unstable — it oxidizes quickly when exposed to air and light, turning the serum yellow or orange, which signals degradation. It also works best at a low pH (below 3.5), which can cause tingling or irritation, particularly for sensitive or acne-prone skin. Vitamin C serum for the face delivers the best results when used in the morning, where its antioxidant activity works alongside sunscreen to protect against UV-induced damage.

Niacinamide vs Vitamin C: The Key Differences

Mechanism of Action

Niacinamide reduces melanin transfer to surface cells after it has been produced. Vitamin C blocks melanin production at the source by inhibiting tyrosinase. Both reduce pigmentation, but through entirely different pathways — which is why combining them can be more effective than using either alone.

Skin Type Suitability

Niacinamide is suitable for all skin types — oily, dry, sensitive, and combination. It is particularly well-tolerated by acne-prone skin and does not cause purging. Vitamin C, especially at concentrations of 15% or above, can be too harsh for sensitive or compromised skin. Those new to actives are generally advised to start with niacinamide and introduce Vitamin C gradually.

Stability and Formulation

Niacinamide is highly stable across a wide pH range and tolerates heat and light reasonably well. Vitamin C is unstable and degrades rapidly — quality of formulation and packaging matters significantly. A poorly stored or expired Vitamin C serum provides no benefit and can actually irritate the skin.

Targeted Concerns

For oily skin, enlarged pores, and mild pigmentation from acne — niacinamide. For sunspot removal, brighter overall complexion, and collagen support — Vitamin C. For melasma and deeper pigmentation, both ingredients have a role, but professional-grade treatment is usually needed alongside.

Can You Use Niacinamide and Vitamin C Together?

Yes — the old concern that niacinamide and Vitamin C cancel each other out has been largely debunked by current research. The reaction between them requires temperatures and concentrations that are not present in standard skincare routines. They can be layered in the same routine, though using them at different times of day (Vitamin C in the morning, niacinamide morning or evening) is still a reasonable approach for sensitive skin to avoid any potential flushing at higher concentrations.

For those managing pigmentation concerns seriously, the combination of both actives can deliver more comprehensive results than either ingredient used in isolation.

When Serums Are Not Enough

Both niacinamide and Vitamin C are effective maintenance ingredients, but they work at a surface level and within the limits of what cosmetic-grade products can achieve. For concerns like melasma, deep post-inflammatory hyperpigmentation, or sun damage accumulated over years — topical serums will improve tone gradually but will not resolve the underlying issue.

This is where professional treatment becomes relevant. Pigmentation removal treatment in Malad — including Q-Switch laser therapy — directly targets melanin clusters at a depth that topical ingredients cannot reach. For skin that needs more than a serum, Q-Switch Laser in Malad offers a clinically proven approach to deep pigmentation removal.

Similarly, chemical peels in Malad — particularly glycolic or kojic acid peels — can accelerate the results that niacinamide and Vitamin C deliver topically, by removing the pigmented surface layer more efficiently. A HydraFacial in Malad infused with brightening serums is another option for those who want professional-grade skin brightening without downtime.

For skin with both active pigmentation and barrier sensitivity — a combination pattern common in Mumbai’s climate — determining the right serum and the right professional treatment to pair it with requires an individual assessment, not a generic recommendation.

Which One Should You Choose?

If your primary concern is oily or acne-prone skin with post-acne marks — start with niacinamide. It will regulate sebum, reduce inflammation, and fade discolouration without risk of irritation.

If your primary concern is sun damage, dull complexion, or early fine lines — Vitamin C in the morning, paired with broad-spectrum SPF, is the stronger choice.

If you have persistent or deepening pigmentation — melasma, sun spots, or stubborn post-acne marks — no serum, however well-formulated, will be sufficient on its own. A consultation with a dermatologist will give you a treatment map that combines the right topicals with clinical-grade intervention.

At My Happy Skin, Dr. Prachi Saraogi offers personalised skin assessments for pigmentation treatment in Malad East and recommends evidence-based treatment plans that align with your skin type, budget, and long-term goals. Whether you need guidance on skincare actives or are ready to explore skin brightening treatment in Malad, a consultation is the clearest starting point.

Book a consultation at myhappyskin.in/contact-us.

Frequently Asked Questions

Q1. Is niacinamide or Vitamin C better for pigmentation?

Both address pigmentation through different pathways — niacinamide reduces melanin transfer while Vitamin C blocks its production. Using both together gives more comprehensive results, though persistent pigmentation typically needs professional treatment alongside.

Q2. Can niacinamide and Vitamin C be used in the same routine?

Yes. The concern about them interacting negatively is not supported by current evidence. Using Vitamin C in the morning and niacinamide morning or evening is a practical approach, especially for sensitive skin.

Q3. Which serum is better for Indian skin?

Niacinamide is generally better tolerated as a starting point for Indian skin, which is more prone to post-inflammatory hyperpigmentation and sensitivity. Vitamin C can be introduced gradually once the skin barrier is stable.

Q4. What percentage of niacinamide is effective for skin brightening?

5% to 10% niacinamide is the clinically studied and most widely recommended range. Concentrations above 10% rarely add benefit and may increase the risk of irritation.

Q5. Do I need a dermatologist if I am just using serums?

For general maintenance and mild concerns, serums can be used independently. For melasma, deep pigmentation, or if you are unsure which actives suit your skin type, a dermatologist consultation prevents wasted time and potential skin reactions.

Q6. Can Vitamin C serum cause skin darkening?

A degraded or oxidized Vitamin C serum can cause irritation and, in some cases, worsen discolouration. Always check the serum’s colour — if it has turned deep yellow or orange, it has oxidized and should be replaced.

Citations

  1. Niacinamide — mechanism and clinical use for pigmentation — DermNet NZ
  2. Vitamin C in dermatology — evidence and formulation — Journal of Clinical and Aesthetic Dermatology
  3. Niacinamide vs Vitamin C — ingredient comparison — Healthline
  4. L-ascorbic acid stability and formulation — Paula’s Choice Research
  5. Hyperpigmentation in skin of colour — treatment overview — American Academy of Dermatology

PRP Treatment for Hair Loss: Cost, Procedure & Results

Hair loss is one of the most common concerns brought to dermatology clinics — and also one of the most emotionally difficult to deal with. Whether it is a gradually thinning crown, a receding hairline, or sudden shedding, the impact on confidence is real. PRP treatment for hair loss has emerged as one of the most discussed and clinically supported non-surgical options available today, and for good reason.

If you are exploring hair loss treatment in Malad East or trying to understand whether PRP is the right step for you, this guide covers exactly what the procedure involves, what it costs in Mumbai, and what kind of results you can realistically expect.

What Is PRP Treatment for Hair Loss?

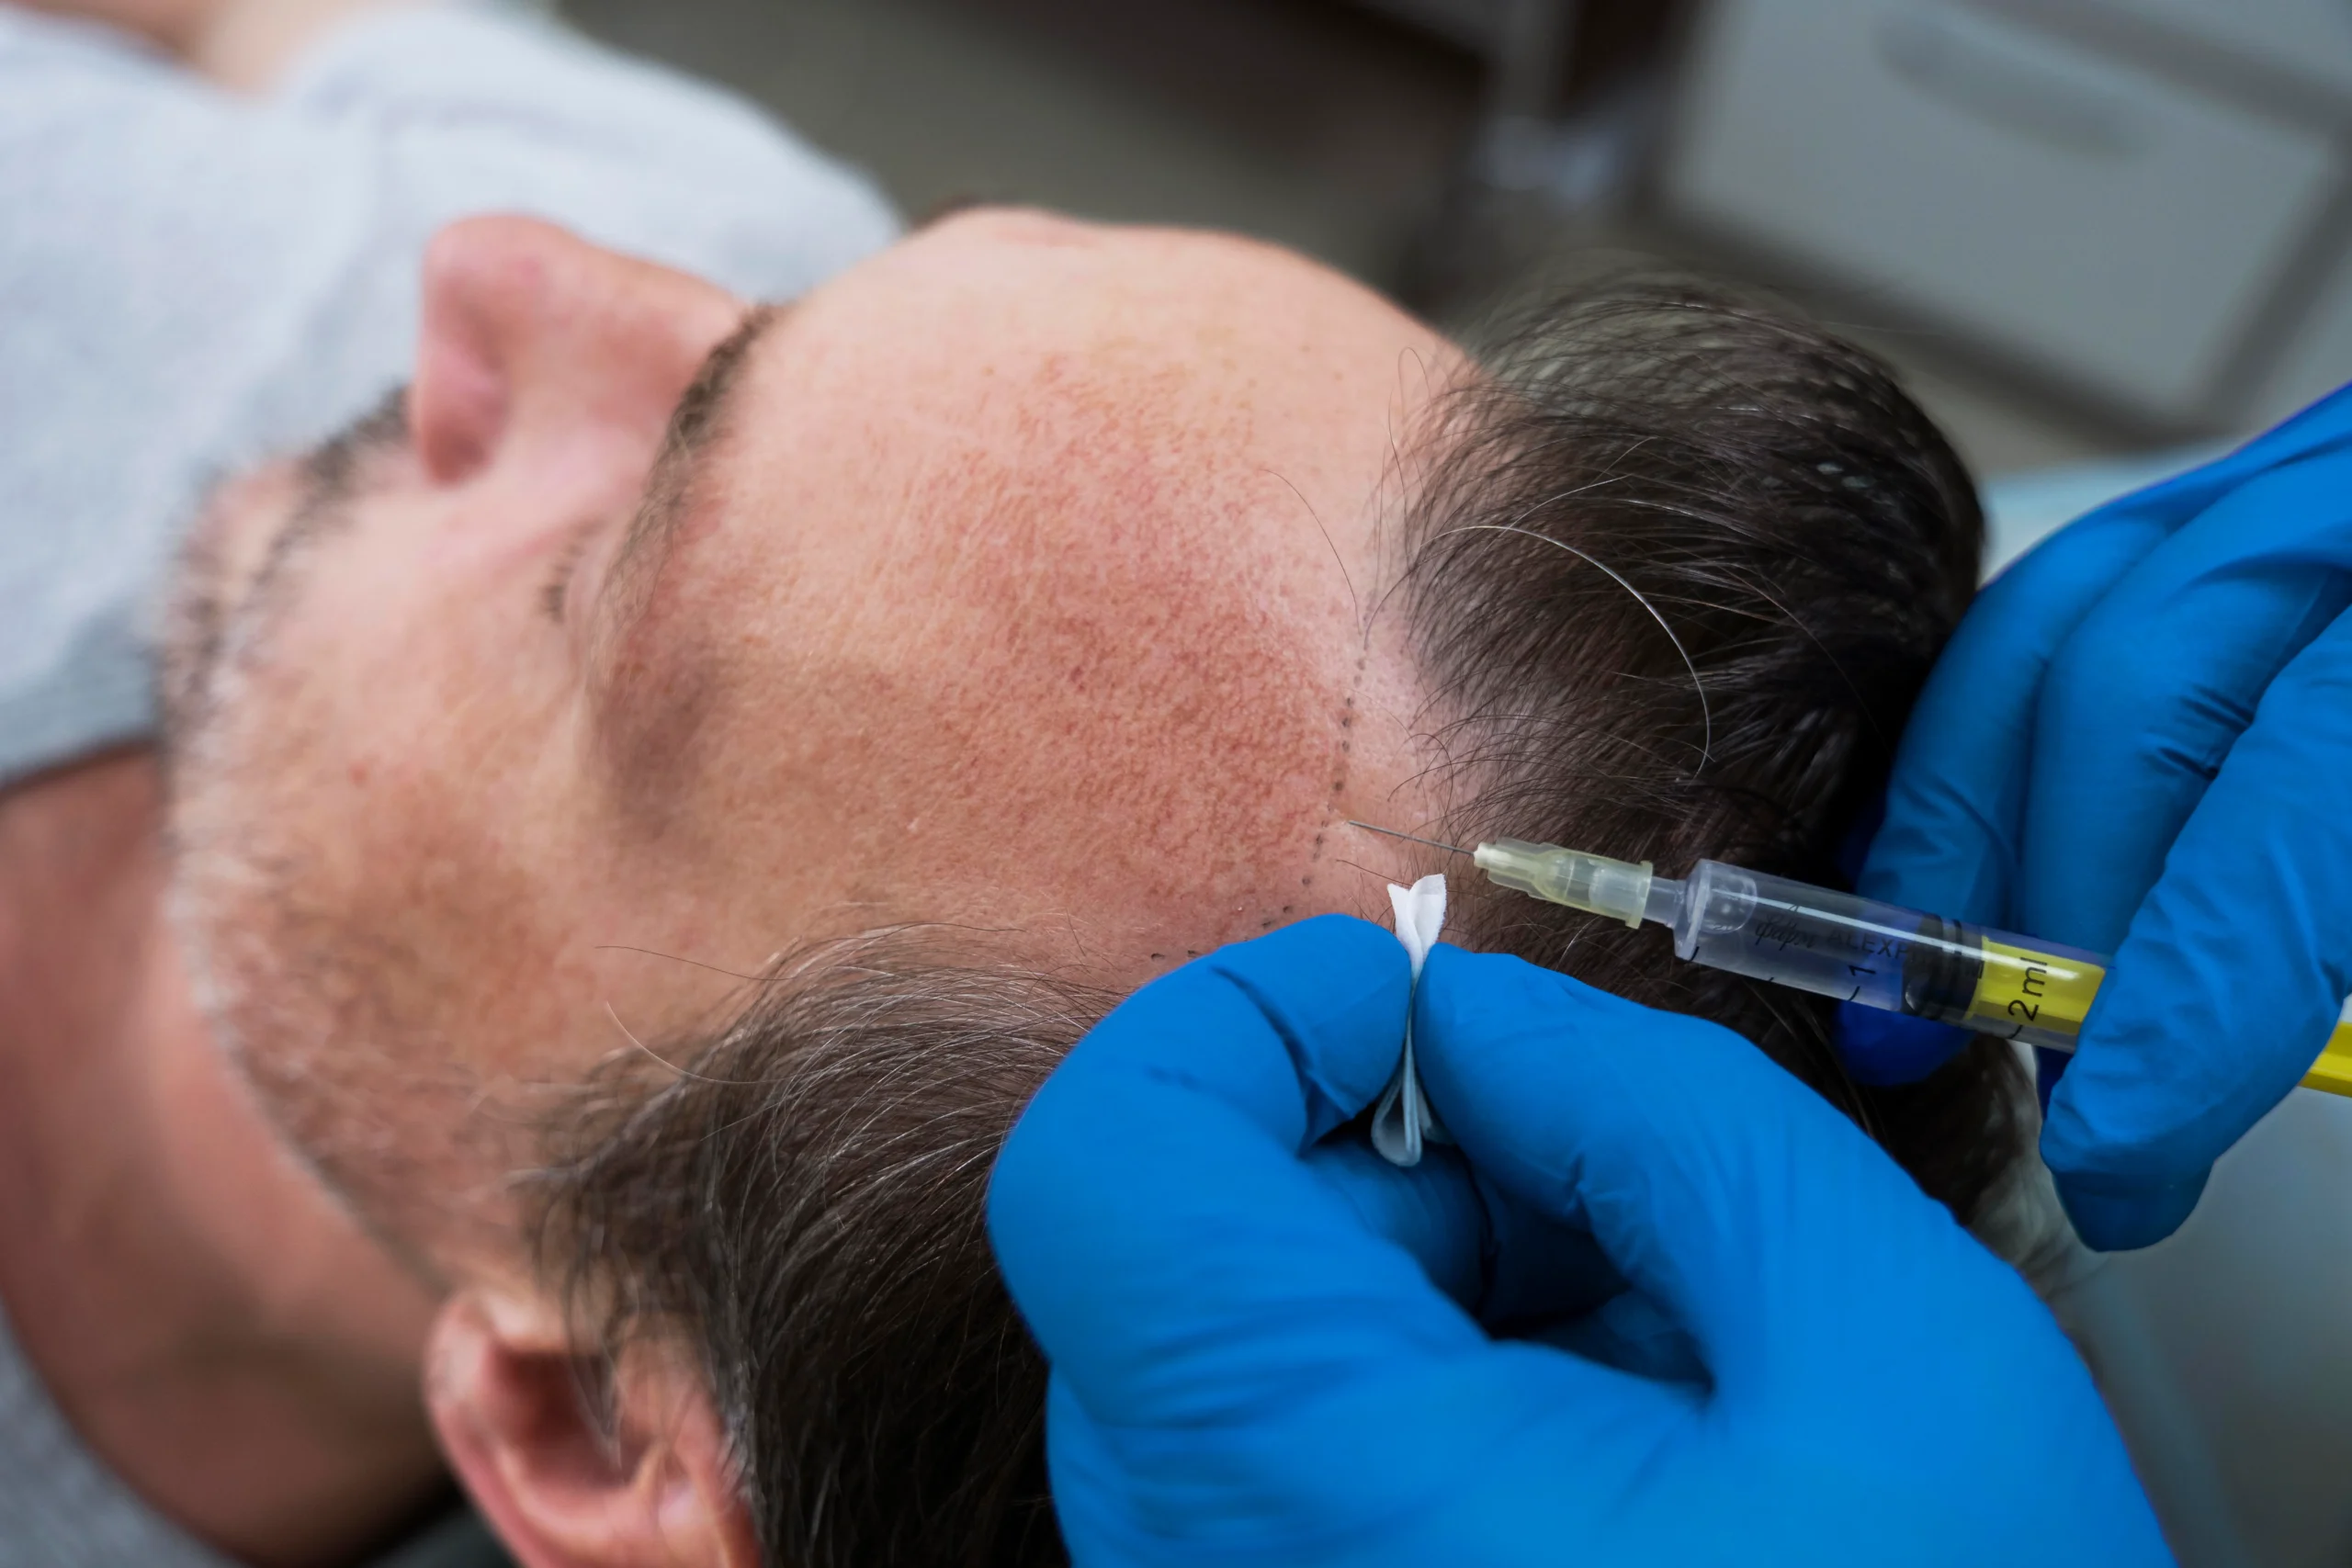
PRP stands for Platelet-Rich Plasma. It is a treatment that uses your own blood to stimulate hair follicle activity. A small amount of blood is drawn, processed in a centrifuge to concentrate the growth factors and platelets, and then injected into the scalp at areas of thinning or loss.

The science behind it is straightforward: platelets contain growth factors — proteins that signal cells to repair and regenerate. When concentrated PRP is delivered directly to the scalp, these growth factors stimulate dormant follicles, increase blood supply to the hair root, and prolong the active growth phase of the hair cycle.

PRP is classified as an autologous treatment, meaning it uses components from your own body. This significantly reduces the risk of allergic reactions or rejection, making it one of the safer options available for both men and women experiencing hair loss.

Who Is a Good Candidate for PRP Hair Loss Treatment?

PRP works best for people in the early to mid stages of hair thinning where follicles are still alive but weakened. It is commonly used for androgenetic alopecia (pattern hair loss) in both men and women — the most common indication, and clinical evidence in this category is the strongest. It is also used for alopecia areata — patchy hair loss caused by an autoimmune response — as well as general hair thinning due to nutritional deficiencies, hormonal changes, or post-partum shedding.

PRP is generally not recommended for advanced baldness where follicles have been completely dormant for several years. A proper scalp assessment by a dermatologist for hair loss in Malad is essential before deciding whether PRP is suitable for your specific condition.

The PRP Hair Loss Procedure: Step by Step

A typical PRP for hair loss session at a dermatology clinic follows three main steps and takes approximately 60 to 90 minutes.

Step 1 — Blood Draw

A small amount of blood — usually 10 to 20 ml — is drawn from the patient’s arm, similar to a routine blood test. This is quick and causes minimal discomfort.

Step 2 — Centrifugation

The blood sample is placed in a centrifuge machine and spun at high speed for approximately 10 minutes. This separates the blood into its components, concentrating the platelets into a plasma-rich layer that is extracted for injection.

Step 3 — Scalp Injection

The concentrated PRP is injected into targeted areas of the scalp using a fine needle or a microneedling device. A topical anaesthetic is typically applied beforehand to minimize discomfort. There is no downtime following the procedure. Most clinics — including My Happy Skin — recommend avoiding washing the hair or applying products to the scalp for 24 hours post-session.

PRP Hair Treatment Cost in Mumbai

This is the question most people search before booking a consultation, and the honest answer is that cost varies based on several factors: the clinic’s infrastructure, the dermatologist’s expertise, the number of vials of PRP used, and whether additional treatments are combined in the same session.

As a general benchmark, PRP hair loss treatment in Mumbai typically ranges from Rs. 3,000 to Rs. 10,000 per session at a dermatology clinic, with most clinics recommending an initial course of 3 to 4 sessions spaced 4 weeks apart. Maintenance sessions are advised every 4 to 6 months thereafter.

It is important to note that significantly lower pricing at non-medical setups often reflects shortcuts in the preparation process — under-centrifuged plasma, unsterile environments, or lack of dermatologist oversight. The quality of the PRP prepared directly impacts results, which is why clinical supervision matters.

For accurate pricing suited to your scalp condition, a consultation at a dermatology clinic in Malad East is the right starting point.

What Results Can You Expect from PRP for Hair Loss?

PRP is not an overnight solution, and it is important to manage expectations clearly. Most patients begin to notice reduced hair fall after the second or third session. Visible improvement in density and thickness typically becomes apparent 3 to 6 months after completing the initial course.

Results vary depending on the stage of hair loss, underlying causes, overall health, and consistency of sessions. PRP works most effectively when combined with appropriate medical management — such as topical minoxidil or oral treatment prescribed by a dermatologist — rather than as a standalone solution.

Combining PRP with Microneedling + PRP in Malad for scalp rejuvenation or with Mesotherapy in Malad — a technique that delivers vitamins and growth factors directly into the scalp — can enhance outcomes for certain patients. Your dermatologist will advise the most appropriate combination based on your assessment.

Why Consult a Dermatologist Before Starting PRP

Hair loss has multiple causes — androgenetic, hormonal, nutritional, stress-related, autoimmune — and PRP is not appropriate for all of them equally. Starting PRP without a proper diagnosis can lead to wasted sessions and money if the root cause is not being addressed. At My Happy Skin, Dr. Prachi Saraogi conducts a thorough scalp and hair assessment before recommending any hair fall treatment in Malad. A structured treatment plan — not a one-size-fits-all protocol — is what delivers sustainable results.

If you are also experiencing skin concerns alongside hair loss, related treatments such as acne scar removal or skin rejuvenation can be planned within the same consultation.

To book a consultation for PRP for hair loss in Malad, visit myhappyskin.in/contact-us.

Frequently Asked Questions

Q1. How many PRP sessions are needed for hair loss?

Most patients require an initial course of 3 to 4 sessions spaced 4 weeks apart, followed by maintenance sessions every 4 to 6 months depending on response.

Q2. Is PRP for hair loss painful?

A topical anaesthetic is applied before the injections, making the procedure largely comfortable. Mild scalp tenderness for a few hours post-session is normal and temporary.

Q3. How long does it take to see results from PRP hair treatment?

Reduced hair fall is typically noticed after the second or third session. Visible improvement in thickness and density usually appears 3 to 6 months after starting the initial course.

Q4. Is PRP safe for both men and women?

Yes. PRP is an autologous treatment using your own blood components, making it safe for most adults. Both men and women experiencing androgenetic alopecia or early-stage hair thinning are suitable candidates.

Q5. Can PRP completely reverse hair loss?

PRP can significantly slow progression and improve density in existing follicles, but it cannot regrow hair in areas where follicles are completely inactive. Results are best in early to mid-stage hair loss.

Q6. What is the cost of PRP hair loss treatment in Mumbai?

Costs typically range from Rs. 3,000 to Rs. 10,000 per session at a dermatology clinic. A proper consultation will determine the number of sessions needed and the total investment required.

Citations

  1. PRP for androgenetic alopecia — clinical overview — American Academy of Dermatology
  2. Platelet-rich plasma for hair loss — mechanism and evidence — DermNet NZ
  3. PRP hair treatment — procedure and results — Healthline
  4. PRP injection for alopecia — clinical evidence review — National Library of Medicine
  5. Hair loss treatment options — Cleveland Clinic

Tan Removal Treatment vs Home Remedies: What Actually Works?

Sun exposure is a part of everyday life, especially in a city like Mumbai. While a little sunlight is healthy, prolonged exposure can lead to stubborn tanning, uneven skin tone, and dullness. This often leaves people wondering what actually works better—professional Tan Removal Treatment or simple tan removal home remedies?

If you’ve been searching for how to remove tan effectively, this guide will help you understand the difference between medical treatments and DIY solutions so you can make the right choice for your skin.

What Causes Skin Tanning?

Tanning occurs when your skin produces more melanin in response to UV exposure. This natural defense mechanism protects deeper layers of the skin but results in darker pigmentation on exposed areas like the face, arms, and neck.

Over time, this can lead to:

  • Uneven skin tone
  • Pigmentation patches
  • Dull and dehydrated skin

Understanding how to remove tan starts with addressing both surface pigmentation and deeper skin damage.

Tan Removal Home Remedies: Do They Really Work?

Many people turn to tan removal home remedies because they are easily available and cost-effective. Common remedies include:

  • Lemon juice and honey
  • Yogurt and turmeric
  • Aloe vera
  • Gram flour (besan) packs

These methods are often suggested for how to remove tan from face naturally at home.

Pros of Home Remedies:

  • Easily accessible
  • Low cost
  • Minimal chemical exposure

Limitations:

  • Results are slow and inconsistent
  • May not work on deep tanning
  • Risk of irritation (especially with lemon or DIY acids)

While tan removal home remedies can provide mild exfoliation and temporary brightness, they usually don’t address deeper pigmentation. For people dealing with long-term or stubborn tanning, relying only on these methods may not be enough for effective skin tan removal.

Tan Removal Treatment: What Dermatologists Recommend

Professional Tan Removal Treatment options are designed to target pigmentation safely and effectively. These treatments are backed by medical science and customized based on your skin type.

Some commonly recommended treatments include:

1. Chemical Peels

Chemical peels gently exfoliate the top layer of skin, helping with skin tan removal and improving texture.

You can explore Anti Tan Peel Treatment  for clinically proven results.

2. Laser Treatments

Laser therapy targets melanin deposits, making it one of the most effective ways for tan removal and pigmentation correction.

3. Medi-Facials

Advanced facials help with hydration, exfoliation, and overall skin rejuvenation, supporting gradual tan removal.

Benefits of Tan Removal Treatment:

  • Faster and visible results
  • Safe when performed by dermatologists
  • Targets deep pigmentation
  • Improves overall skin health

If you’re serious about how to remove tan from face safely and effectively, professional treatments offer a more reliable solution than DIY methods.

Tan Removal vs Home Remedies: Key Differences

Factor

Tan Removal Home Remedies

Tan Removal Treatment

Effectiveness

Mild High

Speed

Slow

Fast

Depth of Action

Surface-level

Deep pigmentation

Safety

Risk of misuse

Medically supervised

Results Temporary

Long-lasting

While both approaches have their place, Tan Removal Treatment is generally more effective for long-term skin tan removal.

When Should You Choose Professional Treatment?

You should consider professional tan removal if:

  • Your tan has been present for a long time
  • Home remedies are not showing results
  • You notice uneven pigmentation or patches
  • You want faster and more visible improvement

If you’ve been repeatedly searching for how to remove tan without success, it may be time to consult a dermatologist.

Tips to Prevent Tanning

Prevention is just as important as treatment. Here are some simple tips:

  • Use sunscreen daily (SPF 30 or higher)
  • Reapply sunscreen every 2-3 hours
  • Wear protective clothing
  • Avoid peak sun hours

Even the best Tan Removal Treatment won’t be effective long-term without proper sun protection.

Final Verdict: What Actually Works?

Tan removal home remedies can help with mild tanning and maintenance, but they are not a complete solution for deeper pigmentation. On the other hand, Tan Removal Treatment offers faster, safer, and more effective results for long-lasting skin tan removal.

If your goal is clear, even-toned, and healthy skin, combining professional treatments with good skincare habits is the best approach.

FAQs

1. How to remove tan quickly?

Professional Tan Removal Treatment like chemical peels or laser therapy provides faster results compared to home remedies.

2. How to remove tan from face safely?

It’s best to consult a dermatologist for safe and effective treatment options rather than relying only on DIY methods.

3. Are tan removal home remedies effective?

They can help with mild tanning but are not very effective for deep pigmentation or long-term results.

4. How many sessions are needed for tan removal?

This depends on the severity of tanning and the treatment chosen. Most people need multiple sessions for optimal skin tan removal.

5. Is tan removal permanent?

Results can last long with proper sun protection, but new tanning can occur without care.

6. Can all skin types undergo Tan Removal Treatment?

Yes, treatments are customized based on skin type to ensure safety and effectiveness.

Why Choose Us?

At My Happy Skin, we are committed to helping you achieve healthy, radiant skin through expert and personalized dermatological care. Our clinic combines advanced skin technologies with experienced medical expertise to provide accurate diagnosis and customized treatment plans for concerns ranging from acne and pigmentation to anti-aging and skin rejuvenation. With a strong focus on patient comfort, transparency, and evidence-based treatments, we ensure a safe, hygienic, and welcoming environment where your skin goals are our priority. To learn more or book a consultation, visit https://myhappyskin.in/

Citations

  1. https://www.aad.org/public/everyday-care/skin-care-secrets/routine/fade-dark-spots
  2. https://www.ncbi.nlm.nih.gov/pmc/articles/PMC4756870/
  3. https://www.healthline.com/health/how-to-remove-tan 

Laser Hair Removal : How it Works, Sessions Required & Side Effects

Unwanted hair can be a persistent concern for many people, often requiring frequent shaving, waxing, or threading. Today, laser hair removal has emerged as a popular, long-term solution that offers smoother skin with less maintenance. If you’re considering this treatment, it’s important to understand how it works, how many sessions you may need, and what to expect in terms of results and safety.

If you’re looking for a trusted dermatologist in Malad , choosing a clinic with expertise in advanced treatments can make a significant difference in your results.

What is Laser Hair Removal and How Does It Work?

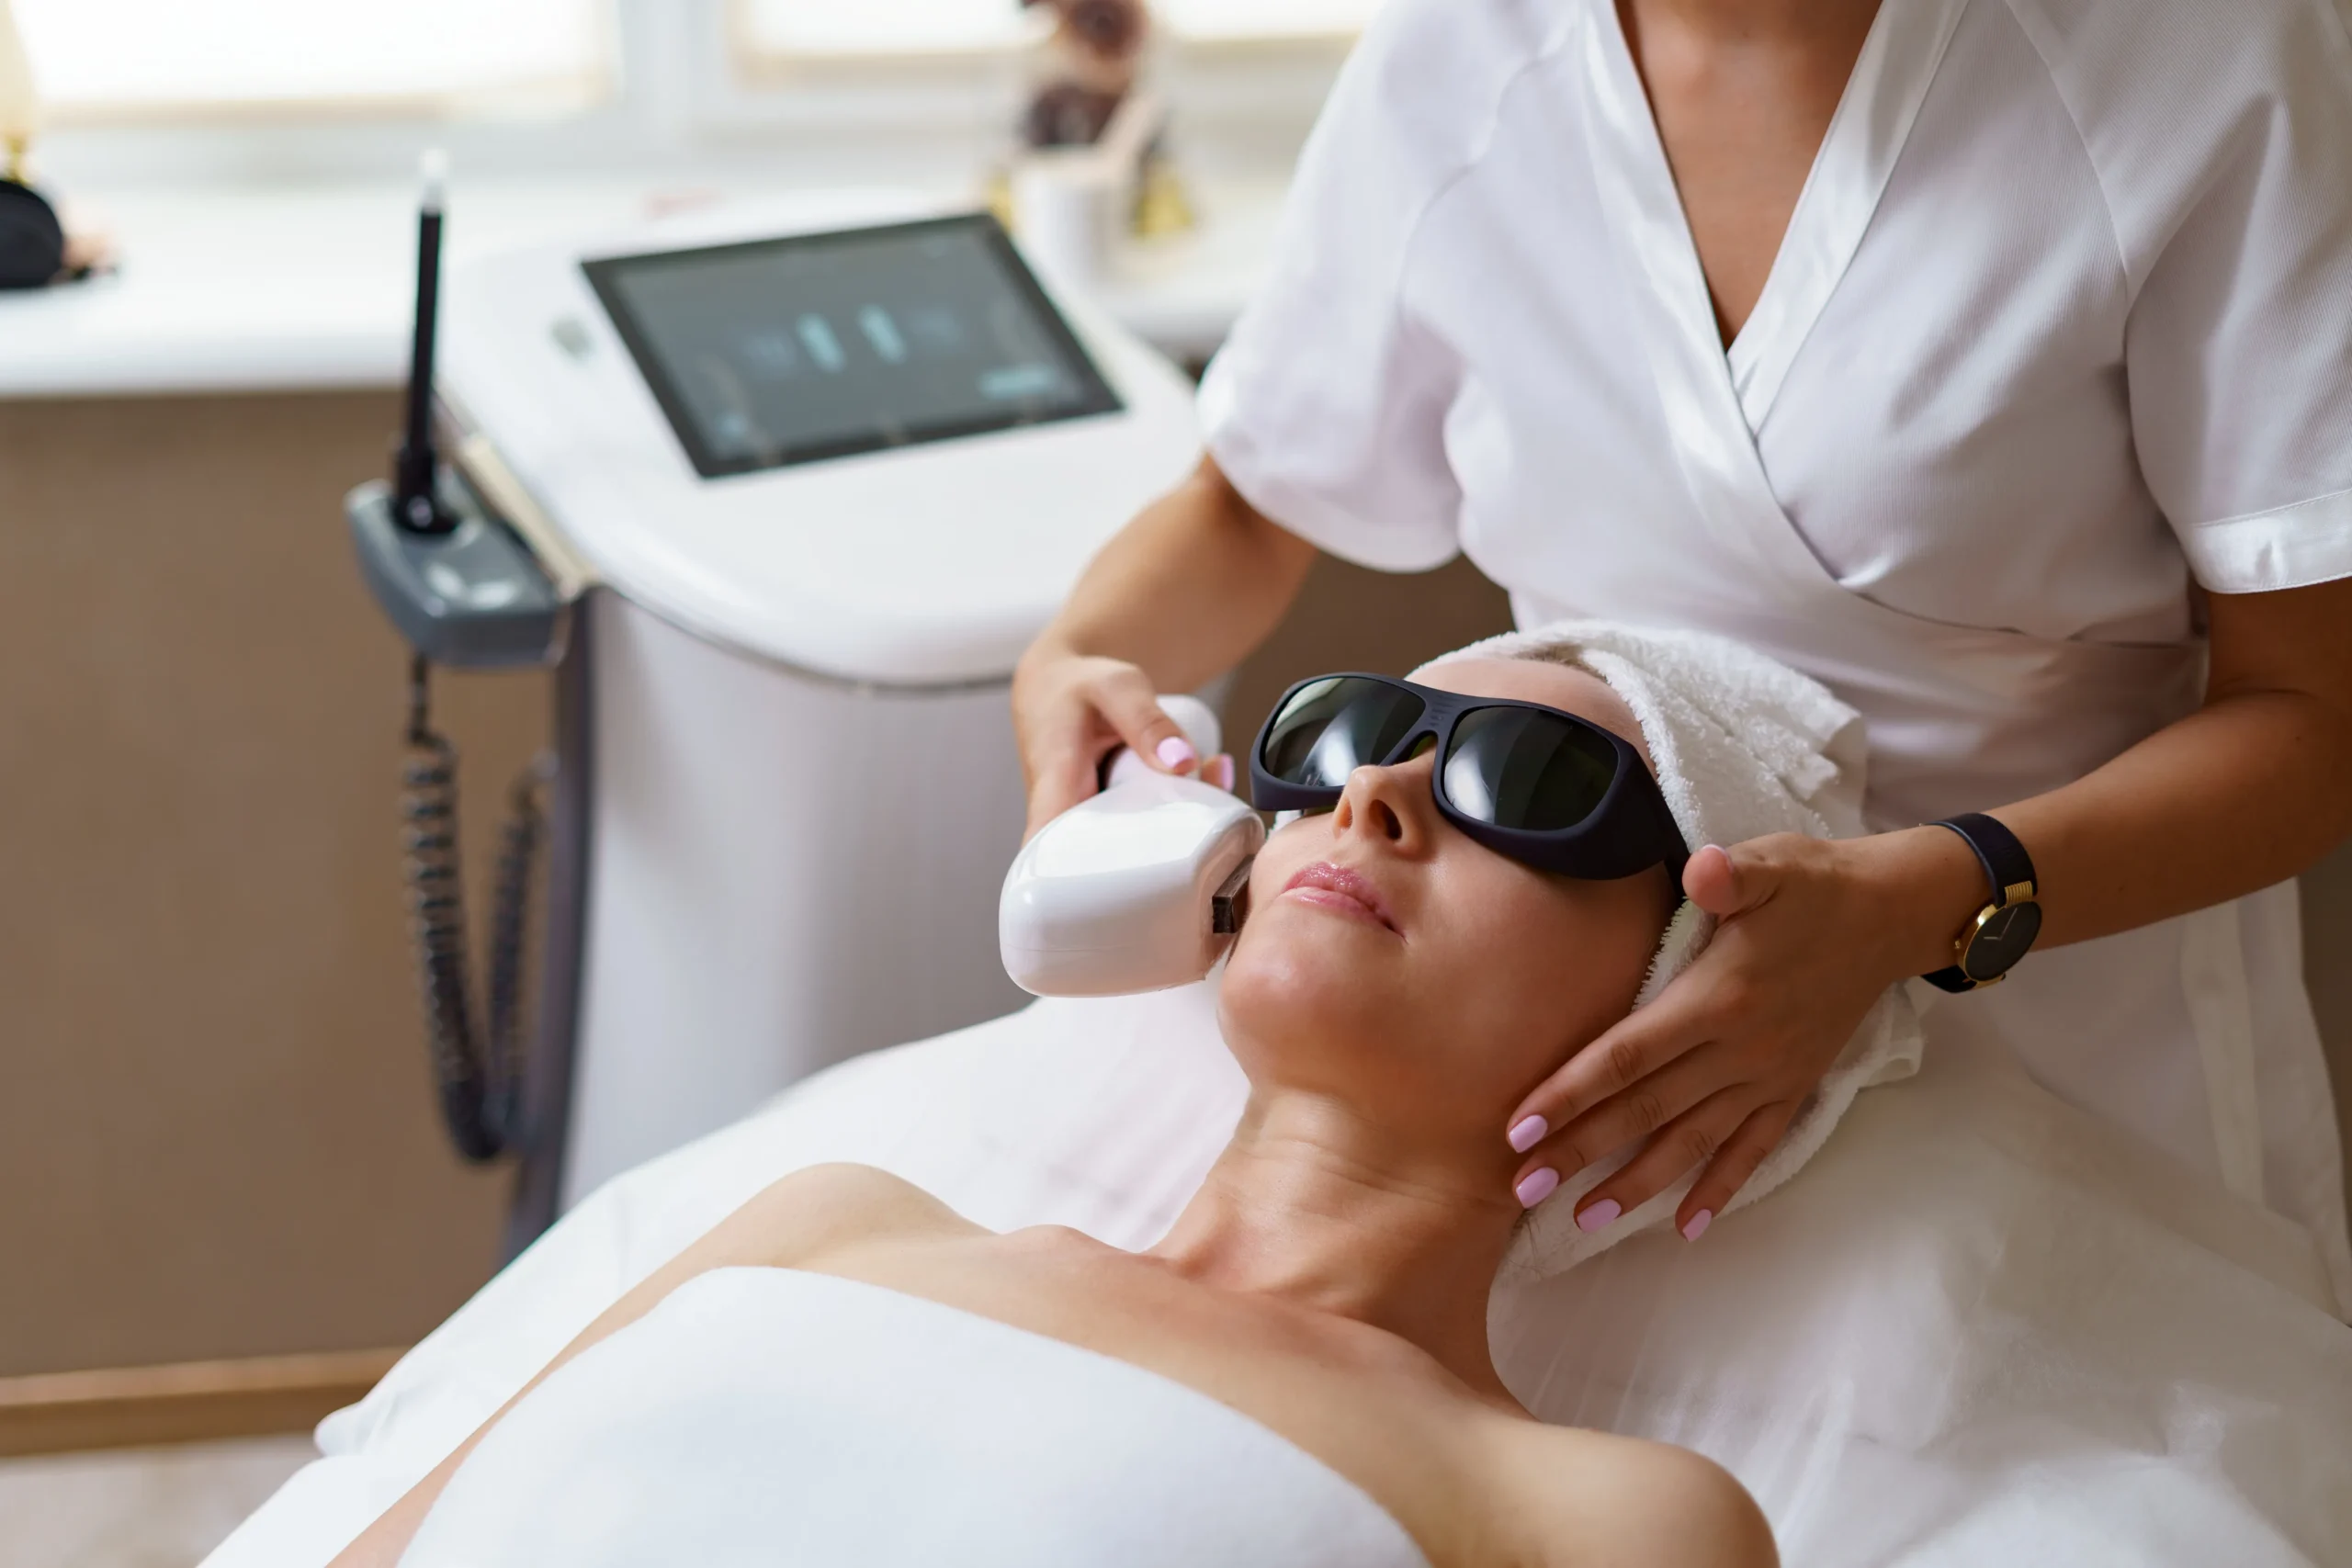
Laser hair removal is a medical procedure that uses concentrated light energy to target hair follicles. The pigment (melanin) in the hair absorbs this light, which then damages the follicle and slows down future hair growth.

The treatment works best on actively growing hair, which is why multiple sessions are required. Over time, the treated hair becomes finer, lighter, and grows back much slower.

For those wondering is laser hair removal safe, the answer is yes—when performed by trained professionals using medical-grade equipment. Modern technology ensures minimal damage to surrounding skin while effectively targeting hair follicles.

Areas That Can Be Treated

Laser hair removal is suitable for almost all body areas, including:

  • Face (upper lip, chin, sideburns)
  • Underarms
  • Arms and legs
  • Bikini area
  • Back and chest

If you’re searching for laser hair removal mumbai, it’s essential to choose a clinic that offers customized treatment based on your skin type and hair texture.

You can explore professional laser hair removal treatment in Mumbai  to understand how personalized plans are designed for different skin types.

How Many Sessions of Laser Hair Removal Are Required?

One of the most common questions is how many sessions are needed. The answer varies from person to person, but typically:

  • 6 to 8 sessions are recommended for optimal results
  • Sessions are spaced 4 to 6 weeks apart
  • Maintenance sessions may be required once or twice a year

This is because hair grows in cycles, and laser hair removal only targets hair in the active growth phase.

While some reduction is visible after the first few sessions, consistent treatment ensures long-lasting results.

Is Laser Hair Removal Permanent?

Many people ask, is laser hair removal permanent. The treatment offers long-term hair reduction rather than complete permanent removal.

After completing the recommended sessions:

  • Hair growth is significantly reduced
  • Regrowth is finer and lighter
  • Some areas may experience minimal regrowth over time

So, while is laser hair removal permanent may not have a simple “yes,” it does provide a long-lasting solution compared to traditional methods.

Is Laser Hair Removal Safe?

Safety is a major concern, especially for first-time users. So, is laser hair removal safe?

Yes, it is considered safe when performed under the supervision of qualified dermatologists. Clinics offering laser hair removal mumbai typically use advanced machines suitable for Indian skin tones, reducing the risk of burns or pigmentation.

If you have concerns like uneven skin tone, combining treatments such as skin pigmentation treatment may also be recommended alongside laser procedures.

To ensure safety:

  • Avoid sun exposure before and after sessions
  • Follow pre- and post-care instructions
  • Choose experienced professionals

When done correctly, is laser hair removal safe becomes less of a concern and more of a reassurance.

Laser Hair Removal Side Effects

Like any cosmetic procedure, there can be some laser hair removal side effects, though they are usually mild and temporary.

Common laser hair removal side effects include:

  • Mild redness and swelling
  • Slight skin sensitivity
  • Temporary pigmentation changes (rare)

Most laser hair removal side effects subside within a few hours to a couple of days.

If you are already undergoing treatments like acne treatment , your dermatologist may adjust your laser sessions to avoid irritation.

Serious complications are rare, especially when the treatment is performed by trained professionals. Understanding these laser hair removal side effects can help set realistic expectations and reduce anxiety before your session.

Laser Hair Removal Cost in Mumbai

The laser hair removal cost varies depending on several factors:

  • Treatment area (small areas like upper lip vs large areas like legs)
  • Number of sessions required
  • Technology used
  • Clinic expertise

In general, laser hair removal cost in Mumbai can range from affordable packages for smaller areas to higher investments for full-body treatments.

If you’re considering laser hair removal mumbai, it’s best to consult a clinic for a personalized quote. Keep in mind that while the upfront laser hair removal cost may seem higher, it often proves cost-effective in the long run compared to repeated waxing or shaving.

Pre and Post Treatment Care

To get the best results from laser hair removal, proper care is essential.

Before Treatment:

  • Avoid sun exposure and tanning
  • Do not wax or pluck hair
  • Shave the area 24 hours before the session

After Treatment:

  • Apply soothing creams as advised
  • Avoid hot showers and workouts for 24 hours
  • Use sunscreen regularly

Following these steps also minimizes laser hair removal side effects and enhances treatment effectiveness.

Who is an Ideal Candidate?

Laser hair removal works best for individuals with:

  • Dark hair and lighter skin (though modern machines cater to all skin tones)
  • No active skin infections
  • Realistic expectations about results

If you are unsure whether is laser hair removal safe for your skin, a consultation with a dermatologist is the best first step.

FAQs

1. Is laser hair removal safe for all skin types?

Yes, modern technology makes is laser hair removal safe for most skin types when done by professionals.

2. Is laser hair removal permanent?

While is laser hair removal permanent is commonly asked, it offers long-term reduction rather than complete removal.

3. What are the common laser hair removal side effects?

Typical laser hair removal side effects include mild redness and sensitivity.

4. How much does laser hair removal cost in Mumbai?

The laser hair removal cost depends on the area and sessions required.

5. How many sessions are required?

Most people need 6–8 sessions of laser hair removal.

6. Can I do laser hair removal on my face?

Yes, facial areas are commonly treated with laser hair removal.

Why Choose Us?

At My Happy Skin, we are committed to helping you achieve healthy, radiant skin through expert and personalized dermatological care. Our clinic combines advanced skin technologies with experienced medical expertise to provide accurate diagnosis and customized treatment plans for concerns ranging from acne and pigmentation to anti-aging and skin rejuvenation. With a strong focus on patient comfort, transparency, and evidence-based treatments, we ensure a safe, hygienic, and welcoming environment where your skin goals are our priority. To learn more or book a consultation, visit https://myhappyskin.in/

Citations

  1. https://www.aad.org/public/cosmetic/hair-removal/laser-hair-removal-overview
  2. https://www.mayoclinic.org/tests-procedures/laser-hair-removal/about/pac-20392770 
  3. https://www.ncbi.nlm.nih.gov/pmc/articles/PMC2921738/

Blackheads vs Whiteheads: The Difference and Treatment

Most people have experienced either a dark speck on their nose or a small, flesh-coloured bump under the skin — sometimes both at once. These are two of the most common skin concerns seen by dermatologists, and while blackheads and whiteheads are often grouped together, they behave differently, respond to different treatments, and require a specific approach to clear effectively.

If you have been dealing with either and wondering why your current routine is not working, this guide will clarify what you are actually dealing with and what treatment options are available at a skin specialist in Malad East.

What Are Blackheads and Whiteheads?

Both blackheads and whiteheads are types of comedonal acne — a non-inflammatory form of acne caused by clogged hair follicles. The clog is always made up of the same material: excess sebum, dead skin cells, and debris. What separates the two is whether the pore remains open or closed at the surface.

A blackhead, also called an open comedone, forms when a pore is clogged but the surface remains open. The contents inside oxidize on contact with air, which turns the plug a characteristic dark brown or black colour. Contrary to popular belief, the colour has nothing to do with dirt — it is a chemical reaction between sebum and oxygen.

A whitehead, or closed comedone, forms when the pore is blocked and the surface is sealed over by a thin layer of skin. Because the contents have no exposure to air, they do not oxidize and remain white or flesh-coloured. Whiteheads sit just beneath the skin surface and can feel slightly raised to the touch.

Key Differences at a Glance

Pore Status: Blackheads have an open pore; whiteheads have a closed pore.

Colour: Blackheads appear dark brown to black due to oxidation. Whiteheads are white, cream, or flesh-toned.

Texture: Blackheads are usually flat or slightly raised. Whiteheads feel like small, firm bumps under the skin.

Location: Blackheads are most common in the T-zone — nose, forehead, and chin. Whiteheads appear across the face, particularly the cheeks and chin.

Progression Risk: Both can progress to inflamed acne (papules, pustules, cysts) if bacteria enter the clogged pore. Whiteheads, because they are sealed, carry a slightly higher risk of becoming inflamed.

Why Home Extraction Is a Bad Idea

This is worth addressing directly because it is the most common mistake people make with both conditions. Squeezing blackheads or whiteheads at home — whether with fingers or tools — carries real risks. Improper pressure on a closed whitehead can rupture the follicle wall beneath the skin, pushing debris deeper and triggering inflammation. This can quickly turn a minor comedone into a painful, inflamed pimple or even lead to post-inflammatory pigmentation.

For people in Mumbai dealing with oily skin and high pollution exposure, congestion tends to be persistent. Home remedies and pore strips offer temporary visual improvement at best and frequently cause micro-damage that worsens the skin’s texture over time.

Professional Treatment Options at My Happy Skin

At My Happy Skin, Dr. Prachi Saraogi assesses the type and extent of comedonal congestion before recommending a treatment plan. The options vary depending on whether the concern is blackheads, whiteheads, or a combination.

Professional Extraction

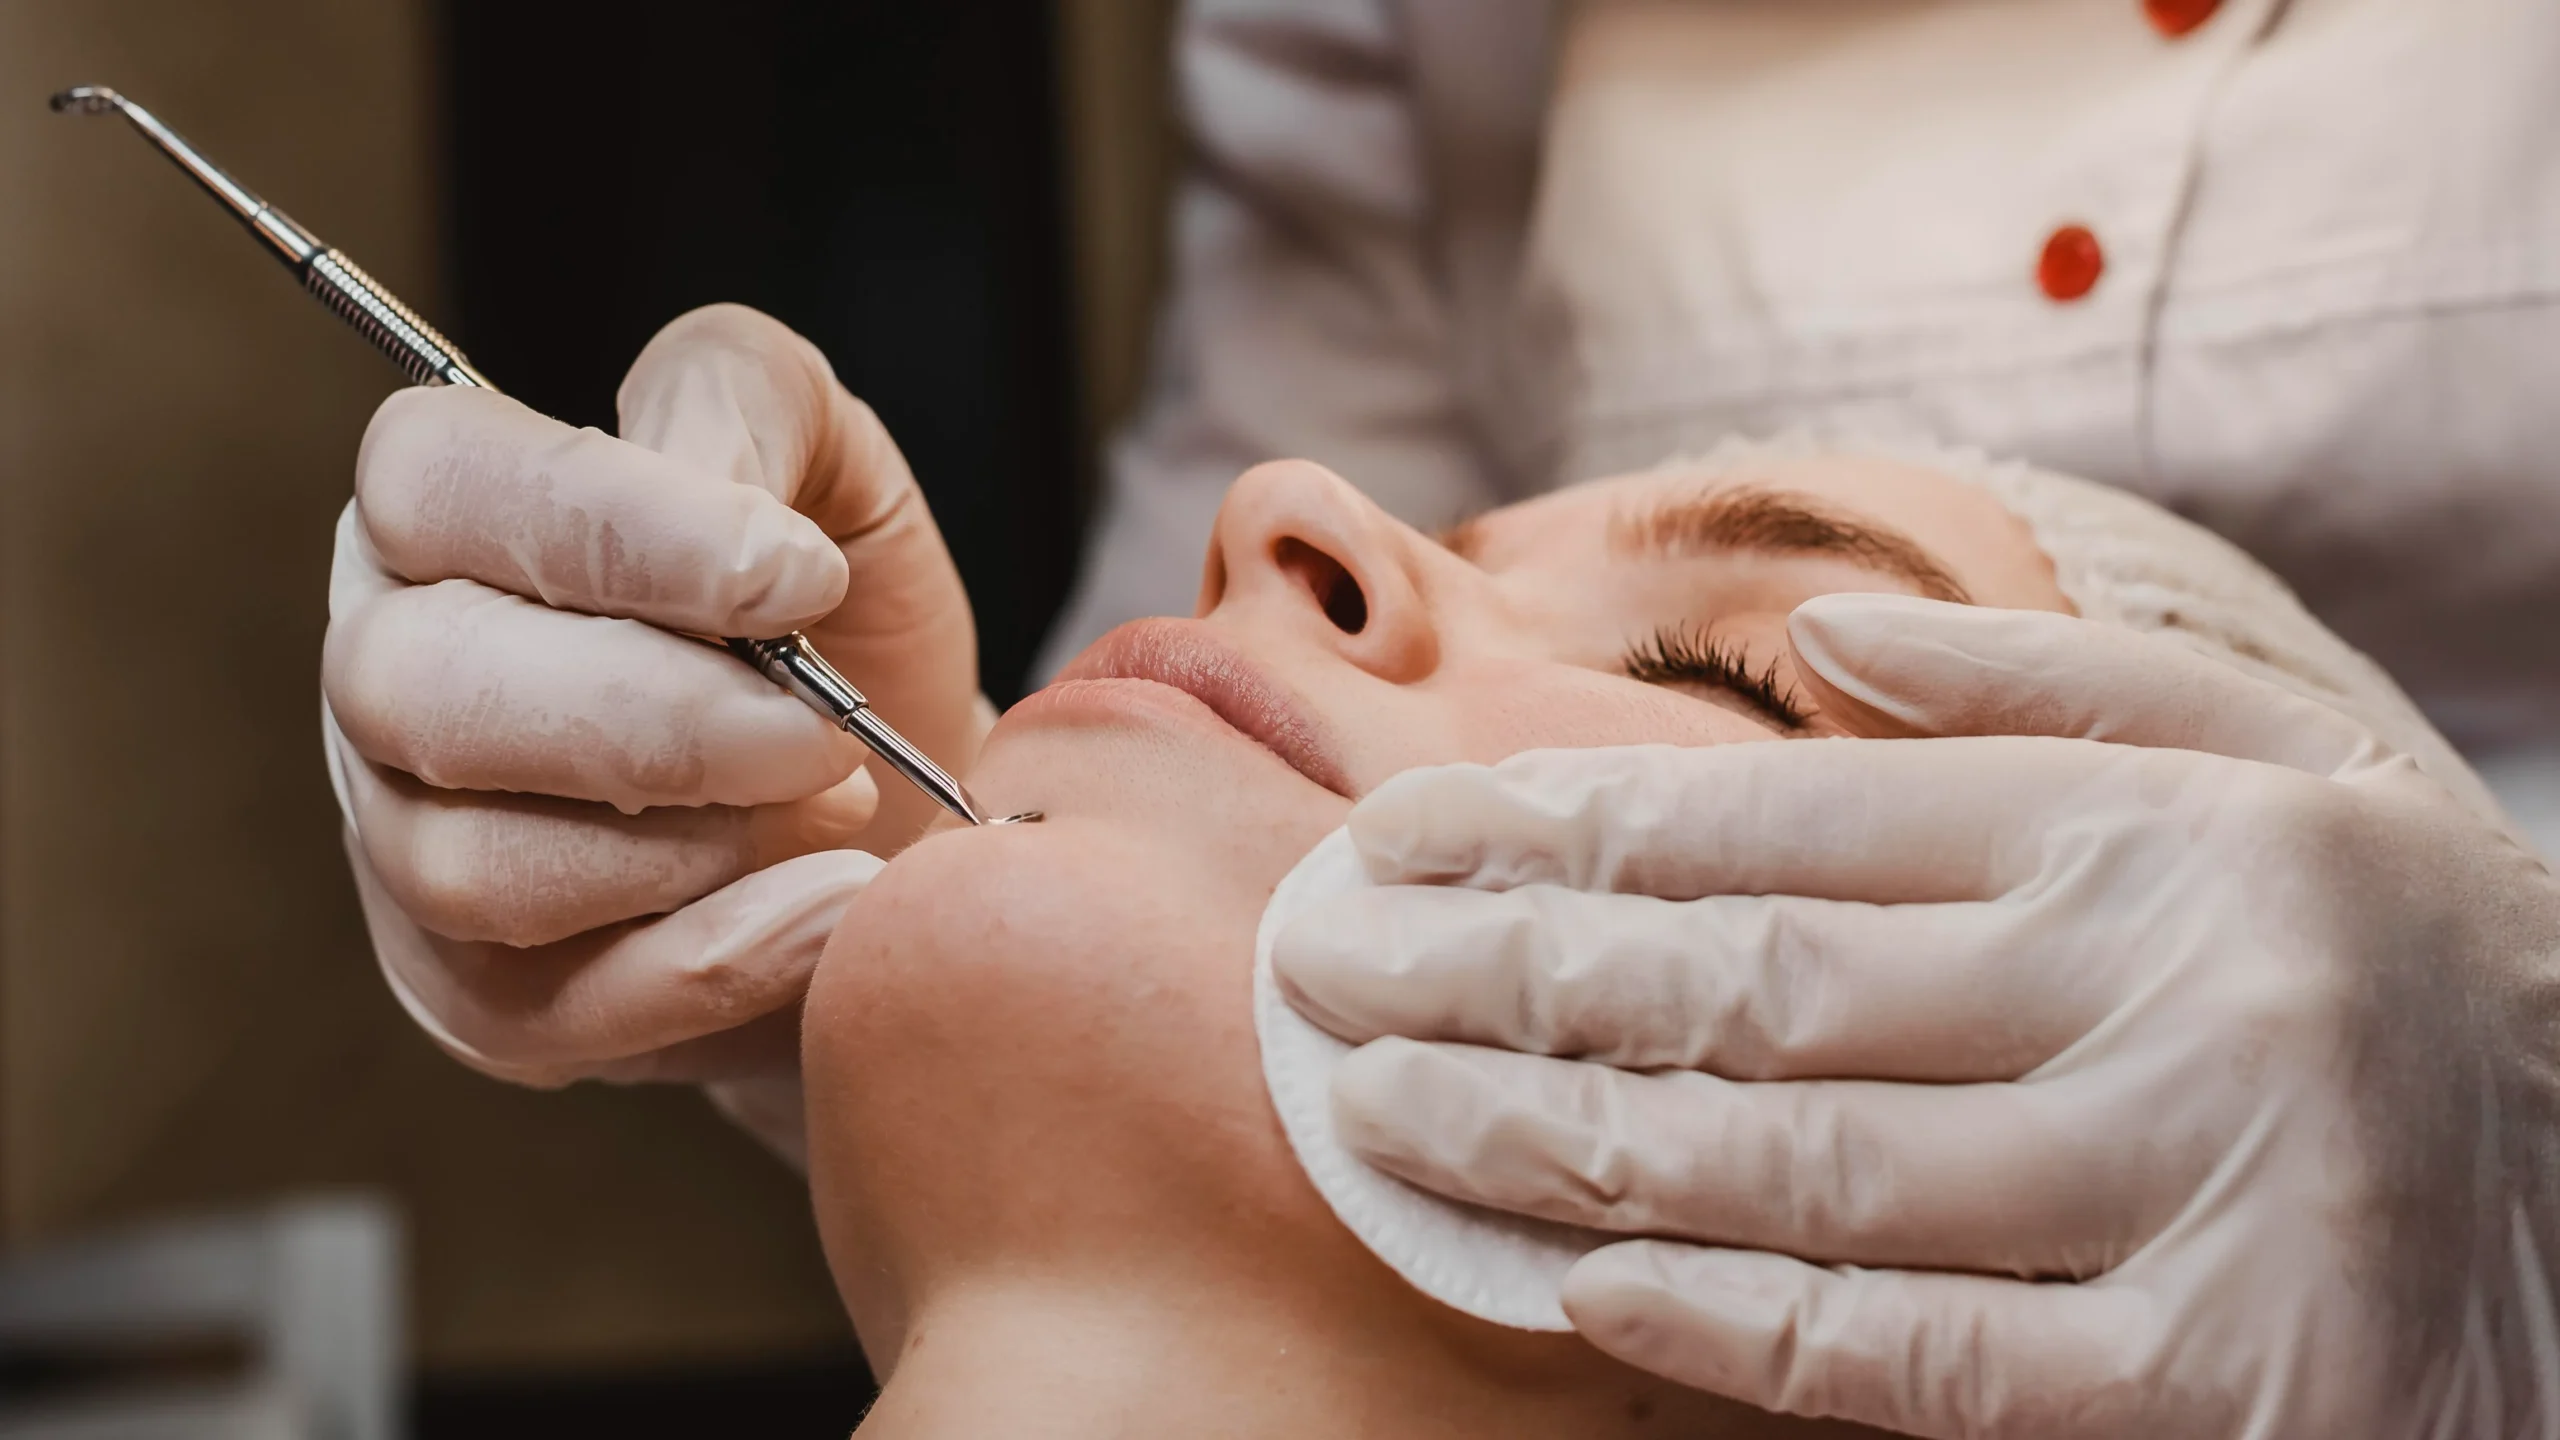
The most direct approach for both blackheads and whiteheads is professional blackhead and whitehead extraction in Malad. At My Happy Skin, this is performed using sterile tools after skin preparation with steam and softening solutions. The technique varies for open versus closed comedones — blackheads are expressed more easily, while whiteheads require a slightly different approach to safely lift the closed surface before extraction. There is minimal downtime and results are visible immediately.

Chemical Peels

Chemical peels in Malad — particularly salicylic acid-based peels — are highly effective for comedonal acne treatment in Malad. Salicylic acid is oil-soluble, which means it penetrates the pore lining and dissolves the sebum plug from within. A course of peels can significantly reduce both blackhead and whitehead formation over time while improving overall skin texture.

HydraFacial

HydraFacial in Malad is an excellent option for those who prefer a gentler, non-invasive approach. The vortex extraction step simultaneously loosens and removes debris from pores without manual pressure, making it particularly suitable for sensitive skin or mild congestion. It also infuses hydration immediately after extraction, which helps regulate sebum production.

Anti-Acne Facial

For those with a mix of comedonal and mild inflammatory acne, the anti-acne facial in Malad at My Happy Skin provides a comprehensive cleansing protocol that addresses clogged pores alongside surface-level bacteria and inflammation.

Skin Polishing

Skin polishing in Malad can complement extraction treatments by removing the layer of dead skin that contributes to recurring pore congestion — reducing the frequency of blackhead and whitehead formation over time.

If untreated comedonal acne has already progressed to pimples or left marks on the skin, acne treatment in Malad or acne scar removal may be recommended as part of a broader plan.

Why Choose My Happy Skin for Blackhead and Whitehead Treatment in Malad East

At My Happy Skin, every treatment begins with a proper skin assessment by Dr. Prachi Saraogi, a qualified dermatologist in Malad East. This matters because blackheads and whiteheads are often part of a broader pattern — oily skin, enlarged pores, recurring acne — that requires a structured, not a one-time, approach.

The clinic uses sterile, medical-grade tools, maintains strict hygiene standards, and recommends only evidence-based treatments suited to your skin type. Whether you need a single extraction session or a multi-step plan for clogged pores treatment in Mumbai, My Happy Skin provides a clear, transparent roadmap.

To book a consultation, visit myhappyskin.in/contact-us.

Frequently Asked Questions

Q1. What is the main difference between a blackhead and a whitehead?

A blackhead is an open, oxidized pore plug that appears dark, while a whitehead is a closed, sealed pore plug that appears white or flesh-toned.

Q2. Can blackheads and whiteheads turn into pimples?

Yes. If bacteria enter a clogged pore, either type can progress to an inflamed pimple, papule, or cyst — which is why early treatment matters.

Q3. Is it safe to squeeze blackheads or whiteheads at home?

No. Home squeezing can rupture the follicle wall, push debris deeper, and lead to scarring or post-inflammatory pigmentation.

Q4. How many sessions of professional extraction are needed?

Most clients see clear improvement after one session, but a course of 3–4 sessions spaced 3–4 weeks apart is recommended for persistent or widespread congestion.

Q5. Which is more difficult to treat — blackheads or whiteheads?

Whiteheads are generally harder to treat at home because the pore is sealed, but both respond well to professional extraction and chemical peels when done correctly.

Q6. Can a HydraFacial remove both blackheads and whiteheads?

Yes. The HydraFacial’s vortex extraction step effectively addresses both types of comedones, especially for mild to moderate congestion, without the pressure of manual extraction.

Citations

  1. Comedonal acne — types, causes, and treatment overview — American Academy of Dermatology
  2. Blackheads vs whiteheads — clinical explanation — Healthline
  3. Salicylic acid peel for comedonal acne — DermNet NZ
  4. Professional extraction safety and technique — Verywell Health
  5. HydraFacial for pore congestion and blackheads — Cleveland Clinic

Hydrafacial vs Regular Facial: Is It Worth It?

If you have been searching for a reliable skin treatment in Malad East, you have likely come across two options that keep appearing side by side: the classic regular facial and the increasingly popular HydraFacial. Both promise cleaner, brighter skin. But they are very different in how they work, how long results last, and what your skin actually gets from each session.

This guide breaks down the real differences so you can make an informed decision — and understand when one clearly outperforms the other.


What Is a Regular Facial?

A regular facial is a manual, salon-based treatment that typically includes steam, cleansing, exfoliation, manual extractions, a face massage, and a mask. It is relaxing, affordable, and widely available. For someone with generally healthy skin looking for basic maintenance and a quick glow, it serves its purpose.

However, a regular facial relies almost entirely on the skill of the person performing it. The depth of cleansing is limited to surface-level action. Serums and creams applied during the session sit on top of the skin rather than penetrating into the deeper layers where most skin concerns actually originate.

For residents dealing with daily exposure to pollution, humidity, and dust — a reality for most people in Mumbai — surface-level care often falls short.


What Is a HydraFacial?

A HydraFacial is a medical-grade, non-invasive skin treatment performed using a specialized device with patented vortex-fusion technology. It combines four clinical steps — cleansing, exfoliation, painless extraction, and deep hydration with antioxidant infusion — all in a single session, typically completed in 30 to 45 minutes.

Unlike a regular facial, the HydraFacial machine simultaneously removes impurities while infusing the skin with hyaluronic acid, peptides, and antioxidants. This dual action means your pores are being cleared and nourished at the same moment — something no manual technique can replicate.

At My Happy Skin, the HydraFacial is performed under dermatologist supervision, ensuring the treatment is customized to your specific skin type and concern — whether that is dullness, pigmentation, dehydration, or congested pores.


HydraFacial vs Regular Facial: Key Differences

Depth of Treatment A regular facial works at the surface. The HydraFacial penetrates deeper layers using vacuum-based suction and infusion, making it clinically more effective for conditions like blackheads, clogged pores, and dehydrated skin.


Technology vs Manual Technique Regular facials depend on manual skill. A HydraFacial uses a standardized, medical-grade device that delivers consistent, measurable results each time — regardless of operator variation.


Downtime Both treatments have zero downtime. However, manual extractions in regular facials can sometimes cause mild redness or post-extraction irritation. The HydraFacial’s vortex extraction is gentle enough that most people return to work or step out immediately after.


Results A regular facial gives a temporary freshness that fades within a few days. A HydraFacial treatment delivers visible improvement in skin texture, hydration, and clarity that lasts several days to weeks, building further with repeat sessions.


Suitability Regular facials may not be appropriate for sensitive or acne-prone skin due to steam and manual pressure. The HydraFacial is safe across all skin types — oily, dry, combination, and sensitive — making it a versatile choice for the diverse skin types seen in Mumbai’s population.


Is HydraFacial Worth the Higher Cost?

This is the most common question when people explore HydraFacial treatment in Mumbai. The short answer is yes — but with context.


If your primary goal is relaxation and basic upkeep, a regular facial at a trusted salon does the job at a lower cost. But if your skin concerns include pigmentation, recurring blackheads, dullness from pollution exposure, or dehydration, then the HydraFacial is not just a luxury — it is a more efficient use of your time and money.


Clients who invest in monthly HydraFacial sessions often find that they spend less on corrective treatments for concerns that could have been prevented. You can learn more about skin brightening treatment in Malad and related options available at My Happy Skin’s treatments page.


For those managing active acne or post-acne pigmentation, combining a HydraFacial with treatments such as chemical peels in Malad or acne treatment can provide significantly better long-term outcomes than either treatment alone.


Who Should Choose a HydraFacial?

A HydraFacial is an excellent choice if you:


  • Have dull, dehydrated skin from pollution or sun exposure
  • Struggle with blackheads or chronically clogged pores
  • Want an instant, event-ready glow with no recovery time
  • Have sensitive skin that reacts to manual extraction or harsh peels
  • Are looking for a deep cleansing facial in Malad that goes beyond surface care
  • Are preparing for a wedding or a major event (see our bridal glow treatment)


Why Choose My Happy Skin for HydraFacial in Malad East

At My Happy Skin, every HydraFacial session is performed under the guidance of Dr. Prachi Saraogi, a qualified dermatologist in Malad East with expertise in evidence-based skin treatments. This is not a salon service — it is a clinically supervised skin procedure with a protocol tailored to your individual skin assessment.

The clinic uses advanced vortex technology, maintains strict hygiene standards, and offers a transparent consultation process before every session. Whether you are a first-time patient or exploring a more comprehensive skin plan, My Happy Skin is a trusted space for glow facial treatment in Mumbai that delivers real, measurable results.

To book a consultation or learn more about HydraFacial in Malad, visit myhappyskin.in.


Frequently Asked Questions

Q1. What is the main difference between a HydraFacial and a regular facial?

A regular facial uses manual techniques and works at the skin’s surface, while a HydraFacial uses a medical-grade device to cleanse, extract, and hydrate at a deeper level with consistent, visible results.


Q2. Is a HydraFacial safe for Indian skin types?

Yes, the HydraFacial is suitable for all skin tones and types, including the oily and combination skin common in Mumbai’s humid climate.


Q3. How often should I get a HydraFacial in Malad?

Most dermatologists recommend once every three to four weeks for maintenance; those with active concerns like pigmentation or blackheads may benefit from more frequent sessions initially.


Q4. Does a HydraFacial have any downtime?

No. You can resume your daily routine immediately after the session, which is why it is often called a lunchtime treatment.


Q5. Can a HydraFacial be combined with other skin treatments?

Yes. At My Happy Skin, the HydraFacial can be combined with treatments such as chemical peels or skin polishing based on your skin goals — your dermatologist will advise the safest protocol.


Q6. Is a HydraFacial worth it compared to a regular salon facial?

For anyone dealing with dullness, clogged pores, or dehydration, yes — the HydraFacial offers deeper, longer-lasting results than a regular facial and is a clinically superior option when performed at a dermatologist-led clinic.


Citations

  1. HydraFacial treatment overview and skin type suitability — Pristyn Care
  2. HydraFacial vs regular facial comparison — Sikara Clinics Blog
  3. HydraFacial steps and procedure detail — The Aesthetica
  4. HydraFacial pricing in Mumbai — APluSkin
  5. Indian skin and HydraFacial suitability — Kapils Salon

Microneedling for Acne Scars: How It Works and What to Expect

Microneedling for Acne Scars: How It Works and What to Expect

Acne scars can be a constant reminder of past breakouts. Even when acne is under control, uneven texture and marks may affect your confidence. If you have been searching for a safe and effective solution, microneedling for acne scars is one of the most trusted dermatological treatments available today.

At My Happy Skin, we understand how frustrating acne scars can feel. In this blog, we explain how microneedling works, what you can expect during the procedure, and whether it may be right for you.

What Is Microneedling?

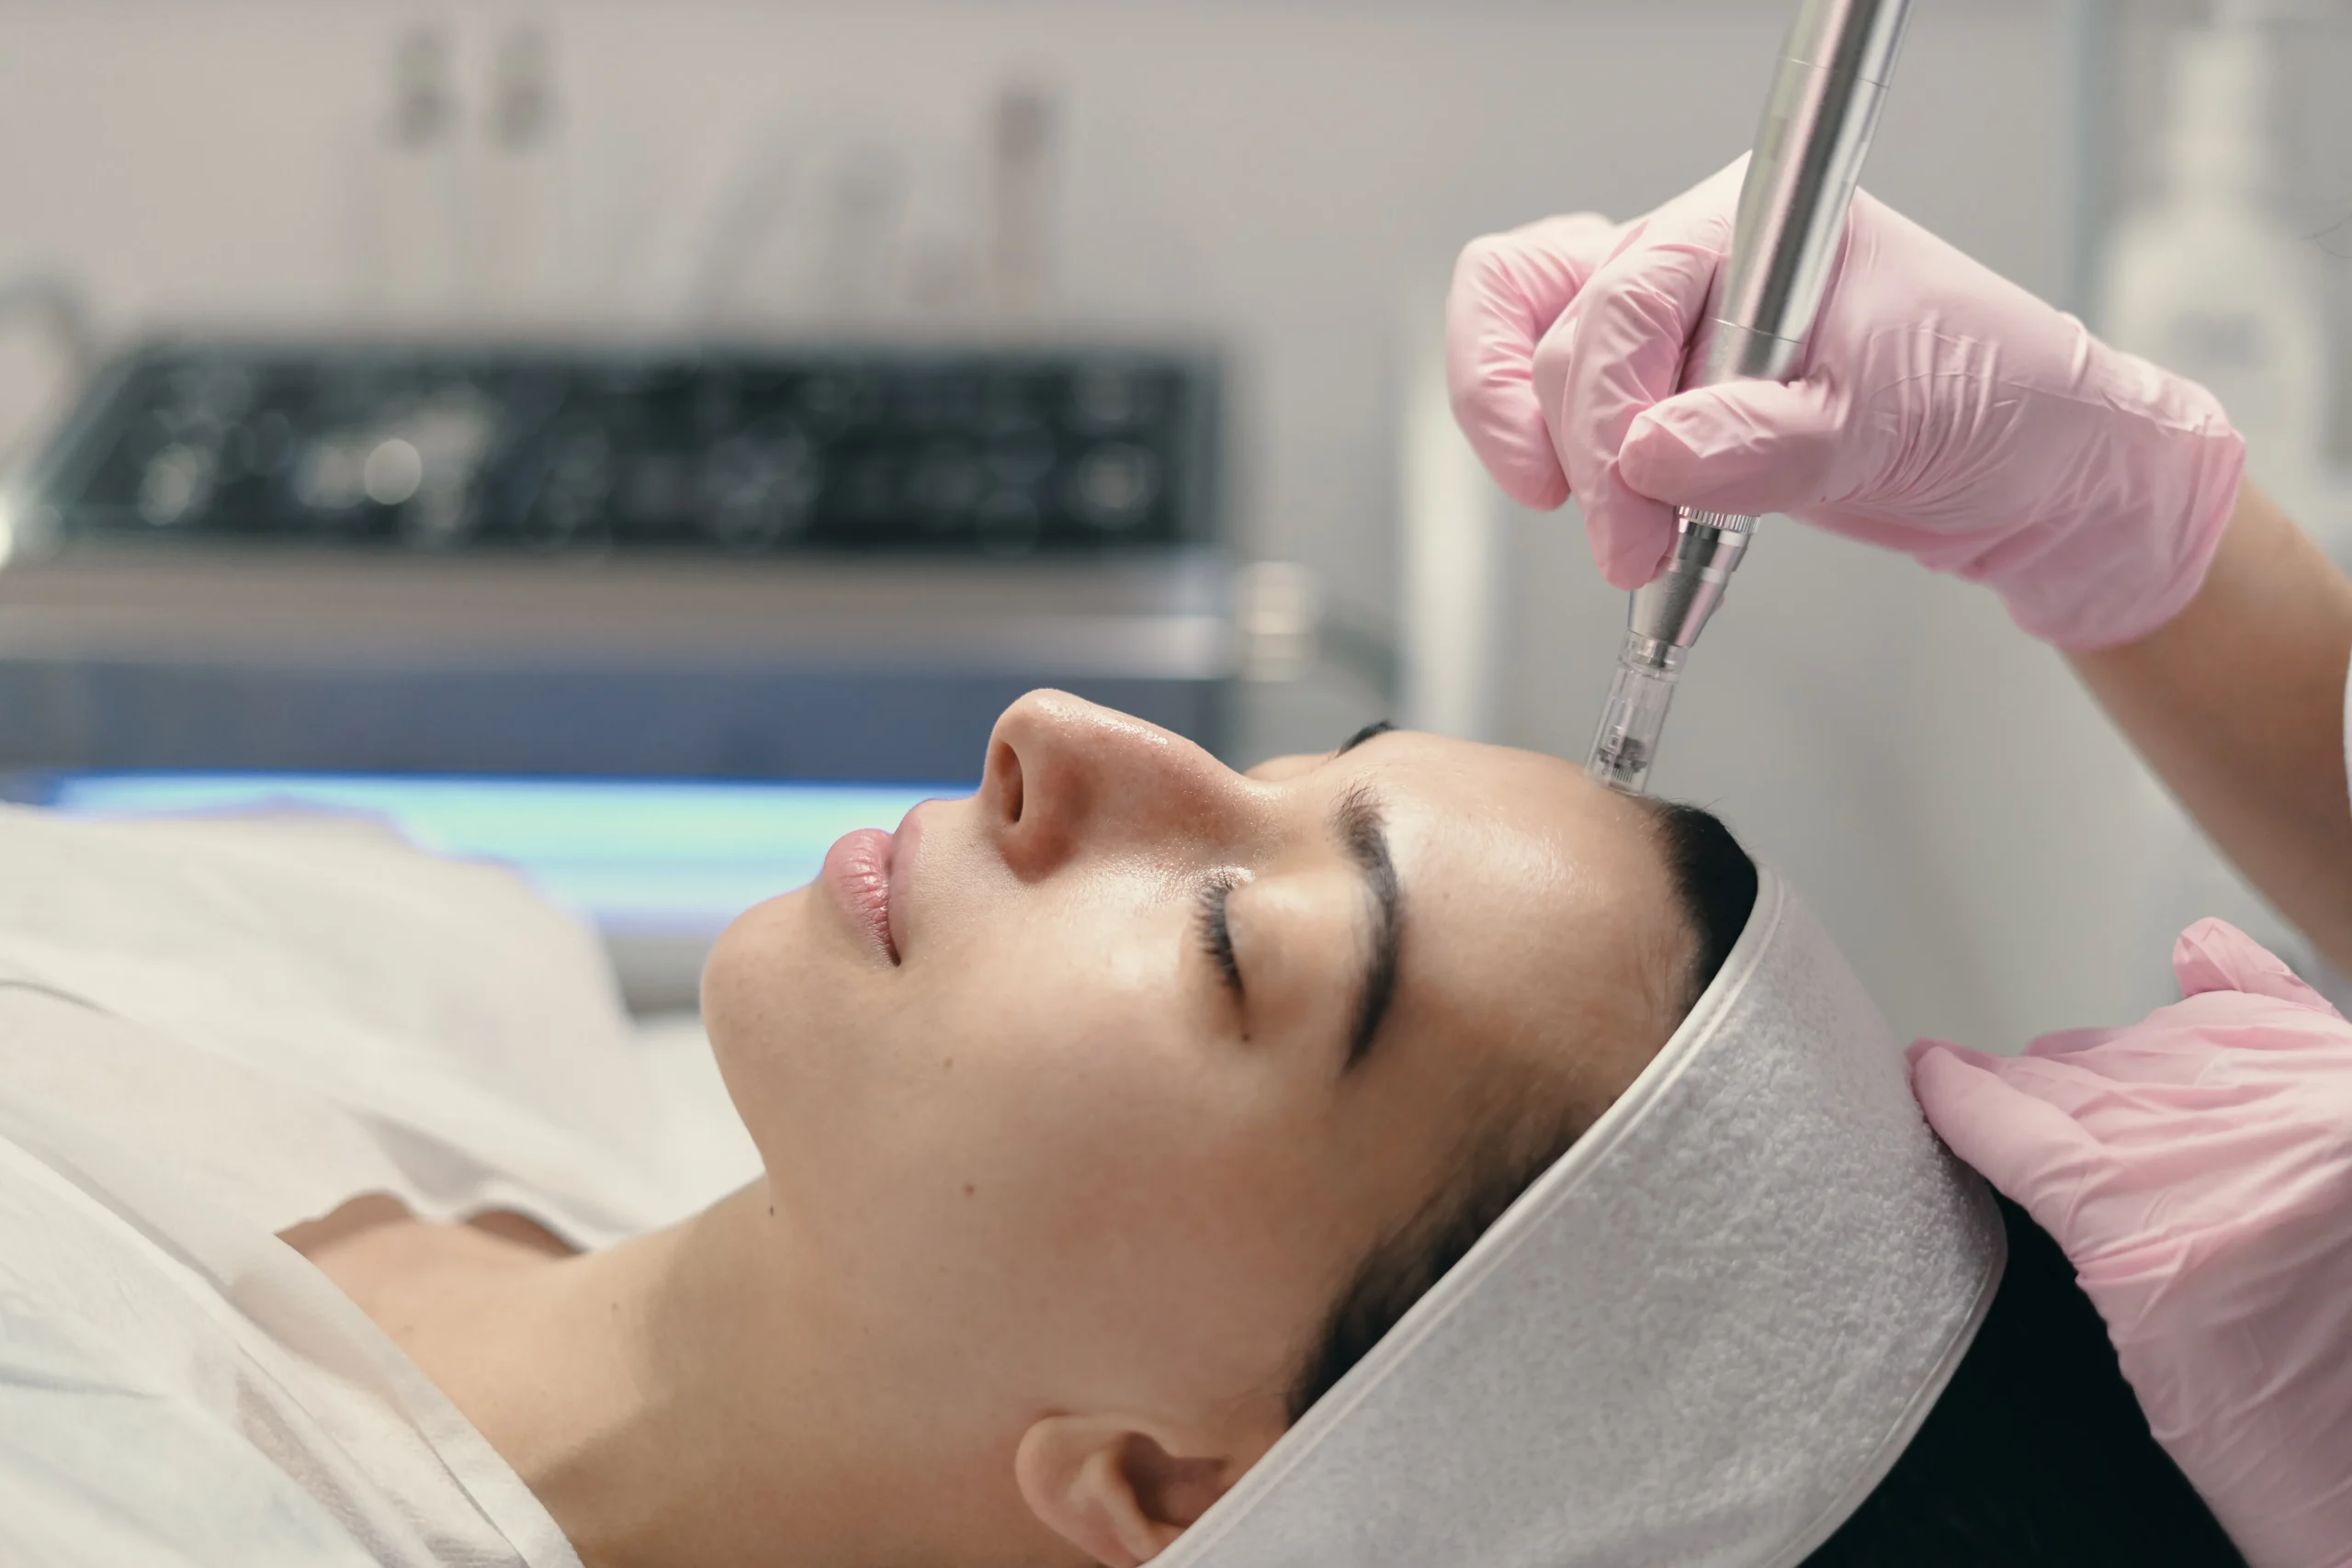
Microneedling is a minimally invasive dermatological procedure that stimulates your skin’s natural healing process. It uses a device with fine, sterile needles that create controlled micro-injuries in the skin. These tiny punctures trigger collagen and elastin production, which helps improve skin texture and reduce the appearance of scars.

A microneedling treatment is performed by a trained dermatologist under strict hygiene protocols. Because the procedure activates the body’s natural repair mechanism, it gradually improves acne scars, fine lines, and overall skin quality.

How Microneedling for Acne Scars Works

Microneedling for acne scars works by breaking down old scar tissue and promoting the formation of new collagen-rich tissue. Acne scars, especially atrophic scars (like ice-pick, boxcar, and rolling scars), occur due to collagen loss. By stimulating collagen production, microneedling helps fill in depressed scars and smooth out uneven texture.

During a microneedling treatment, a topical numbing cream is applied to ensure comfort. The dermatologist then uses a specialized device to create microchannels in the affected area. These microchannels not only stimulate healing but also enhance the absorption of serums that may be applied during the procedure.

Over time, repeated sessions of microneedling for acne scars lead to visible improvement in skin texture and firmness.

What Is a Microneedling Facial?

A microneedling facial is a targeted skin rejuvenation procedure focusing on improving overall skin tone, texture, and clarity. While microneedling for acne scars specifically addresses scarring, a microneedling facial may also help with enlarged pores, dull skin, and mild pigmentation.

Many patients choose a microneedling facial as part of their long-term skin maintenance plan. It is suitable for most skin types and tones, making it a versatile dermatological solution.

Microneedling Benefits for Acne Scars

There are several microneedling benefits that make this procedure a popular choice:

  1. Stimulates natural collagen production
  2. Improves skin texture and smoothness
  3. Reduces the depth of acne scars
  4. Minimally invasive with limited downtime
  5. Safe for most skin tones

Among the most important microneedling benefits is that it uses your body’s own healing response rather than relying on harsh chemicals or extensive surgery. With proper sessions, microneedling for acne scars can provide gradual yet noticeable improvements.

Who Is an Ideal Candidate?

Microneedling for acne scars is ideal for individuals with:

  • Atrophic acne scars
  • Uneven skin texture
  • Mild to moderate scarring
  • Stable acne (no active severe breakouts)

However, those with active infections, certain skin conditions, or uncontrolled medical issues may need alternative treatments. A proper consultation is essential before starting any microneedling treatment.

What to Expect During the Procedure

Understanding the process can help ease any anxiety.

Before the Procedure
Your dermatologist will examine your skin, discuss your medical history, and determine if microneedling for acne scars is suitable for you. You may be advised to avoid certain skincare products a few days before the session.

During the Procedure
A numbing cream is applied to minimize discomfort. The microneedling treatment typically takes 30 to 60 minutes, depending on the treatment area. You may feel mild pressure or vibration, but most patients tolerate it well.

After the Procedure
Mild redness and slight swelling are common and usually subside within 24–72 hours. Your skin may feel tight or sensitive, similar to a mild sunburn. Proper aftercare, including sunscreen use and gentle skincare, is essential.

How Many Sessions Are Needed?

Microneedling for acne scars usually requires multiple sessions for optimal results. Most patients need 3 to 6 sessions spaced about 4 to 6 weeks apart. The number of sessions depends on the severity of scarring and individual skin response.

Because collagen remodeling takes time, improvements continue gradually over several weeks after each microneedling treatment.

Is Microneedling Safe?

When performed by a qualified dermatologist, microneedling is considered safe. Professional-grade devices ensure controlled depth and sterile conditions, reducing the risk of infection or complications.

Avoid at-home rollers for treating deep acne scars, as they may not provide the same precision or safety as a clinical microneedling treatment.

Microneedling Facial vs Other Acne Scar Treatments

Compared to chemical peels or laser treatments, microneedling for acne scars offers:

  • Less downtime
  • Lower risk of pigmentation changes
  • Suitability for darker skin tones
  • Gradual and natural-looking improvement

While laser treatments may also be effective, many patients prefer a microneedling facial for its minimal invasiveness and versatility.

Aftercare Tips for Best Results

To maximize microneedling benefits, follow these aftercare tips:

  • Avoid direct sun exposure for a few days
  • Use a gentle cleanser and moisturizer
  • Apply broad-spectrum sunscreen daily
  • Avoid active ingredients like retinol temporarily
  • Follow your dermatologist’s instructions carefully

Proper aftercare ensures faster healing and enhances the results of microneedling for acne scars.

Frequently Asked Questions (FAQs)

  1. Is microneedling painful?

    Most patients experience minimal discomfort because a numbing cream is applied before the microneedling treatment.

  2. How soon will I see results from microneedling for acne scars?

    You may notice mild improvement after one session, but significant changes usually appear after 3 to 4 sessions.

  3. Can a microneedling facial treat active acne?

    A microneedling facial is generally recommended for acne scars rather than active severe acne. Your dermatologist will guide you.

  4. Are the results of microneedling permanent?

    The collagen produced during microneedling for acne scars is long-lasting. However, maintaining healthy skin and follow-up sessions may be recommended.

  5. Is there any downtime after microneedling?

    Downtime is minimal. Mild redness typically resolves within a few days.

  6. Can all skin types undergo microneedling treatment?

    Yes, microneedling treatment is safe for most skin types, including darker skin tones, when performed by a qualified dermatologist.

Why Choose Us?

At My Happy Skin, we are committed to helping you achieve healthy, radiant skin through expert and personalized dermatological care. Our clinic combines advanced skin technologies with experienced medical expertise to provide accurate diagnosis and customized treatment plans for concerns ranging from acne and pigmentation to anti-aging and skin rejuvenation. With a strong focus on patient comfort, transparency, and evidence-based treatments, we ensure a safe, hygienic, and welcoming environment where your skin goals are our priority. To learn more or book a consultation, visit https://myhappyskin.in/

Citations

  1. American Academy of Dermatology – Microneedling Overview: https://www.aad.org/public/cosmetic/procedures/microneedling 
  2. Journal of Clinical and Aesthetic Dermatology – Microneedling in Acne Scars: https://www.ncbi.nlm.nih.gov/pmc/articles/PMC4976400/
  3. Dermatologic Surgery Journal – Collagen Induction Therapy: https://journals.lww.com/dermatologicsurgery

What Is a Chemical Peel? Types, Benefits & Procedure

Healthy, glowing skin is something most of us aspire to achieve. However, concerns like acne, pigmentation, uneven tone, and early signs of aging can make skin look dull and tired. One of the most effective dermatologist-recommended treatments for improving overall skin quality is a chemical peel.

A chemical peel is a dermatological procedure that uses a specially formulated chemical solution to exfoliate the outer layers of the skin. By removing damaged skin cells, it encourages new, healthier skin to emerge, resulting in a smoother and brighter complexion.

In this blog, we will help you understand what a chemical peel treatment involves, its types, chemical peel benefits, possible risks, and whether it is right for you.

What Is a Chemical Peel?

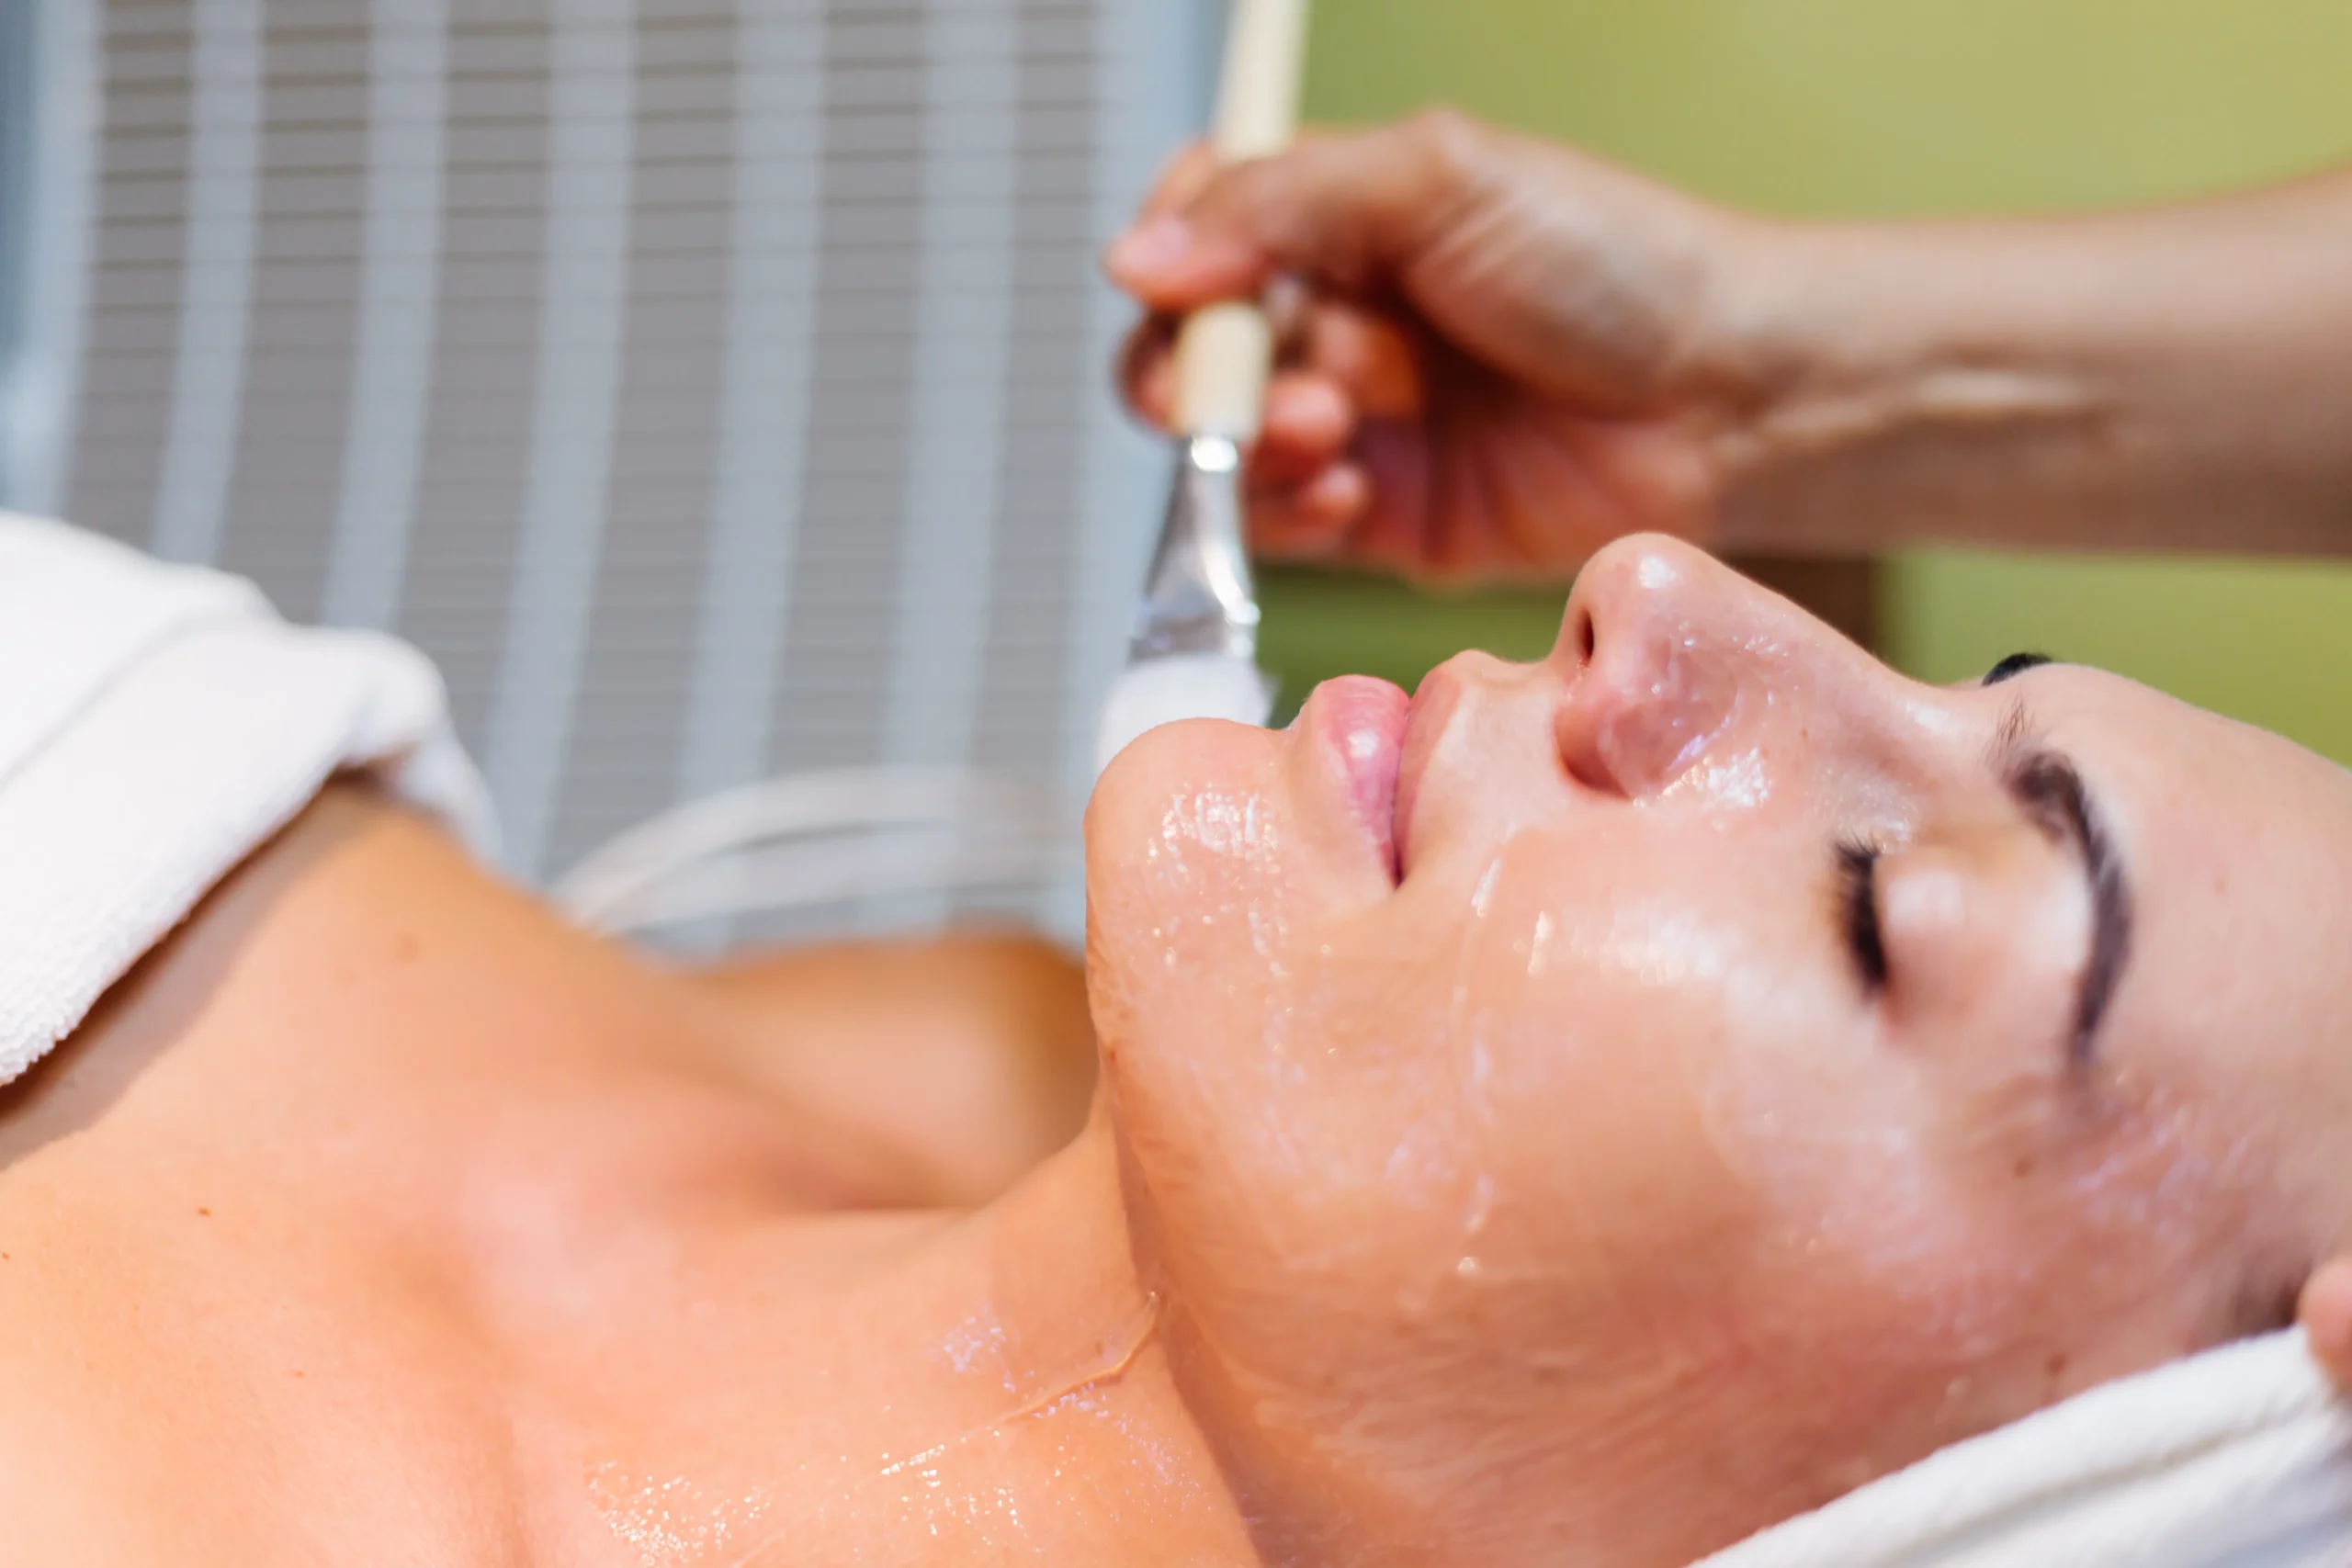
A chemical peel is a skin-resurfacing procedure where a controlled chemical solution is applied to the face or other areas. This solution gently removes the top layers of the skin, stimulating regeneration and collagen production.

A chemical face peel can be customized based on your skin type and concerns. Dermatologists may recommend it for acne, pigmentation, acne scars, fine lines, sun damage, and uneven texture.

Many patients choose chemical peel treatment because it is minimally invasive and requires relatively little downtime compared to more aggressive procedures.

Types of Chemical Peel

There are three main types of chemical peel, depending on how deeply they penetrate the skin:

1. Superficial Peel

Also called a light peel, this type works on the outermost layer of the skin (epidermis). It is ideal for mild pigmentation, dullness, and minor acne. A chemical face peel in this category often uses mild acids like glycolic or lactic acid.

2. Medium Peel

A medium chemical peel penetrates deeper into the skin and is commonly used as a chemical peel for pigmentation and moderate acne scars. It helps improve uneven skin tone and texture more effectively than superficial peels.

3. Deep Peel

A deep chemical peel works on deeper skin layers and is usually recommended for severe sun damage, deeper wrinkles, and stubborn acne scars. Because it is more intensive, it requires longer recovery and must be performed strictly under expert supervision.

Your dermatologist will assess your skin condition before recommending the most suitable chemical peel treatment.

Chemical Peel Benefits

There are several chemical peel benefits that make this procedure popular in dermatology clinics:

  1. Improves skin texture and smoothness
  2. Reduces pigmentation and dark spots
  3. Controls acne breakouts
  4. Minimizes the appearance of scars and fine lines

One of the major chemical peel benefits is that it stimulates collagen production, which enhances skin firmness over time. Patients seeking a chemical peel for pigmentation often notice brighter, more even-toned skin after a few sessions.

Another important aspect of chemical peel benefits is improved absorption of skincare products, as dead skin layers are removed.

Chemical Peel for Acne and Acne Scars

A chemical peel for acne works by exfoliating clogged pores, reducing excess oil, and killing acne-causing bacteria. It also helps calm inflammation and prevent future breakouts.

For individuals dealing with post-acne marks, a chemical peel for acne scars can significantly improve skin texture. While deeper scars may require multiple sessions, consistent chemical peel treatment can visibly reduce their appearance.

Many dermatologists combine a chemical peel for acne with medical skincare for optimal results. Similarly, a chemical peel for acne scars may be part of a comprehensive treatment plan that includes microneedling or laser therapy.

Chemical Peel for Pigmentation

Uneven skin tone and dark patches are common concerns. A chemical peel for pigmentation works by removing melanin-rich damaged skin cells from the surface.

Whether pigmentation is due to sun exposure, acne marks, or hormonal changes, a chemical peel for pigmentation can help restore clarity and brightness. Multiple sessions of chemical peel treatment may be needed for deeper pigmentation issues like melasma.

When done correctly, a chemical peel for pigmentation provides gradual and natural-looking improvement.

Procedure: What to Expect 

Understanding the procedure can ease anxiety before your first chemical face peel.

Step 1: Consultation
Your dermatologist evaluates your skin type, concerns, and medical history to decide the appropriate chemical peel treatment.

Step 2: Cleansing
The skin is thoroughly cleansed to remove oil and dirt.

Step 3: Application
The chemical solution is carefully applied to the treatment area. You may feel mild tingling or warmth.

Step 4: Neutralization and Aftercare
Depending on the type of chemical peel, the solution may be neutralized and removed after a few minutes. Post-treatment skincare and sunscreen are essential.

After a chemical face peel, mild redness or peeling is common and usually subsides within a few days.

Chemical Peel Side Effects

Like any dermatological procedure, there can be chemical peel side effects. Most are mild and temporary.

Common chemical peel side effects include redness, dryness, peeling, and slight sensitivity. In rare cases, improper technique can lead to infection, scarring, or post-inflammatory hyperpigmentation.

Discussing possible chemical peel side effects with your dermatologist ensures you are well-informed and prepared. Choosing a qualified clinic significantly reduces risks.

Who Is a Good Candidate?

You may be a suitable candidate for chemical peel treatment if you have:

  • Acne-prone skin
  • Pigmentation or sun spots
  • Mild to moderate acne scars
  • Uneven skin tone
  • Fine lines and dullness

However, pregnant women, individuals with active skin infections, or those with extremely sensitive skin should consult a dermatologist before opting for a chemical peel.

Aftercare Tips

Proper aftercare enhances results and minimizes chemical peel side effects:

  • Use gentle cleansers
  • Avoid direct sun exposure
  • Apply broad-spectrum sunscreen daily
  • Avoid picking or peeling flaking skin
  • Follow prescribed skincare strictly

Following post-procedure instructions ensures better healing and maximizes chemical peel benefits.

FAQs

  1. Is a chemical peel painful?

    A chemical peel may cause mild tingling or warmth, but it is generally well tolerated.

  2. How many sessions of chemical peel treatment are required?

    Most people need 3–6 sessions of chemical peel treatment for visible and lasting results, depending on the concern.

  3. Can a chemical face peel treat acne scars?

    Yes, a chemical peel for acne scars helps improve skin texture and reduce post-acne marks over multiple sessions.

  4. Is chemical peel for pigmentation safe?

    When performed by a qualified dermatologist, chemical peel for pigmentation is safe and effective.

  5. Are there any long-term chemical peel side effects?

    Long-term chemical peel side effects are rare when the procedure is done correctly and proper aftercare is followed.

  6. How soon can I see results after a chemical peel for acne?

    Improvement in breakouts may be seen within a few weeks after a chemical peel for acne, though full results require multiple sessions.

Why Choose Us?

At My Happy Skin, we are committed to helping you achieve healthy, radiant skin through expert and personalized dermatological care. Our clinic combines advanced skin technologies with experienced medical expertise to provide accurate diagnosis and customized treatment plans for concerns ranging from acne and pigmentation to anti-aging and skin rejuvenation. With a strong focus on patient comfort, transparency, and evidence-based treatments, we ensure a safe, hygienic, and welcoming environment where your skin goals are our priority. To learn more or book a consultation, visit https://myhappyskin.in/

Citations

  1. American Academy of Dermatology Association – Chemical Peels
    https://www.aad.org/public/cosmetic/chemical-peels 
  2. Mayo Clinic – Chemical Peel Overview
    https://www.mayoclinic.org/tests-procedures/chemical-peel/about/pac-20393473
  3. Indian Journal of Dermatology – Chemical Peeling in Dermatology
    https://www.ncbi.nlm.nih.gov/pmc/articles/PMC3560165/